Have a Question?
Proxmox VE on the Vault
Overview
Proxmox provides a few enterprise level open source applications. The Proxmox home page can be found at https://www.proxmox.com/en. One of the applications is the Virtual Environment which is described as a complete server management platform for enterprise virtualization. The Proxmox Virtual Environment page can be found at https://www.proxmox.com/en/proxmox-ve. Proxmox VE has been successfully installed on the Vault with both AMI and coreboot BIOS. Please refer to the compatibility chart at the bottom of this article for more information. The instructions below describe how to install Proxmox VE on the Vault.
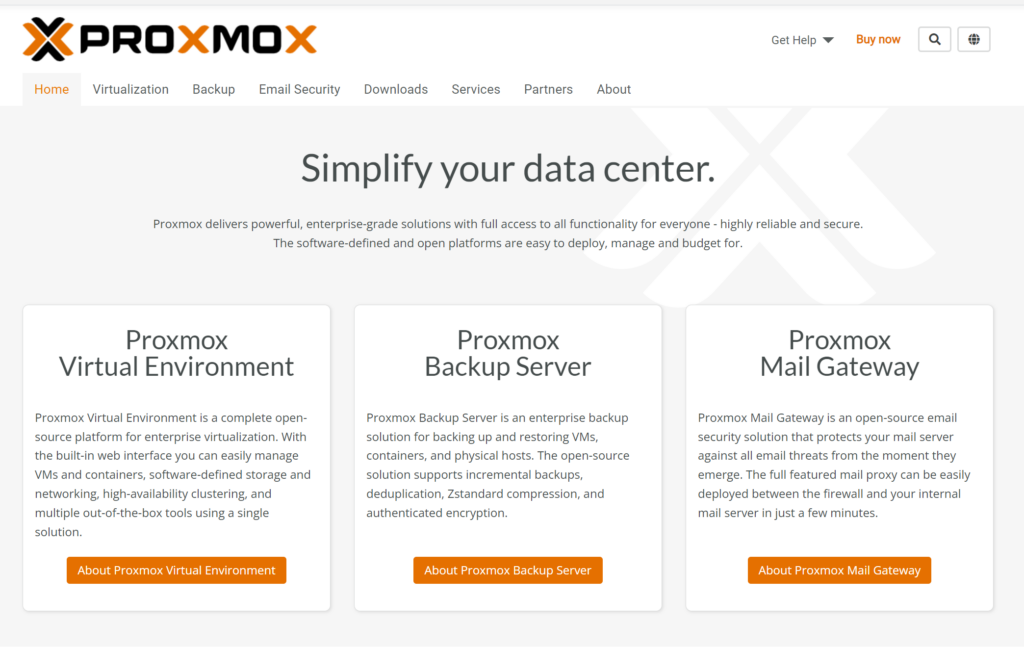
Proxmox Home Page
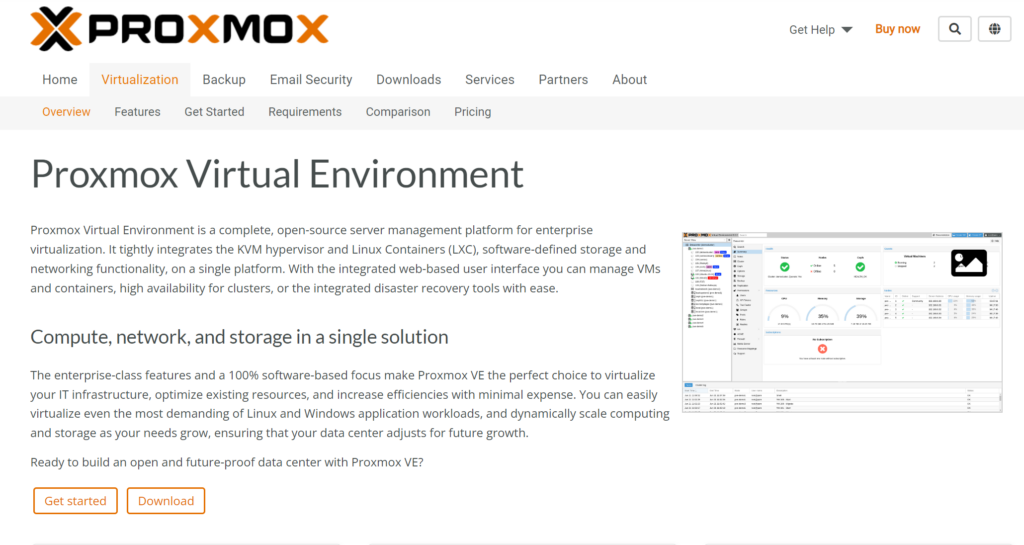
Proxmox VE Page
Install Proxmox VE
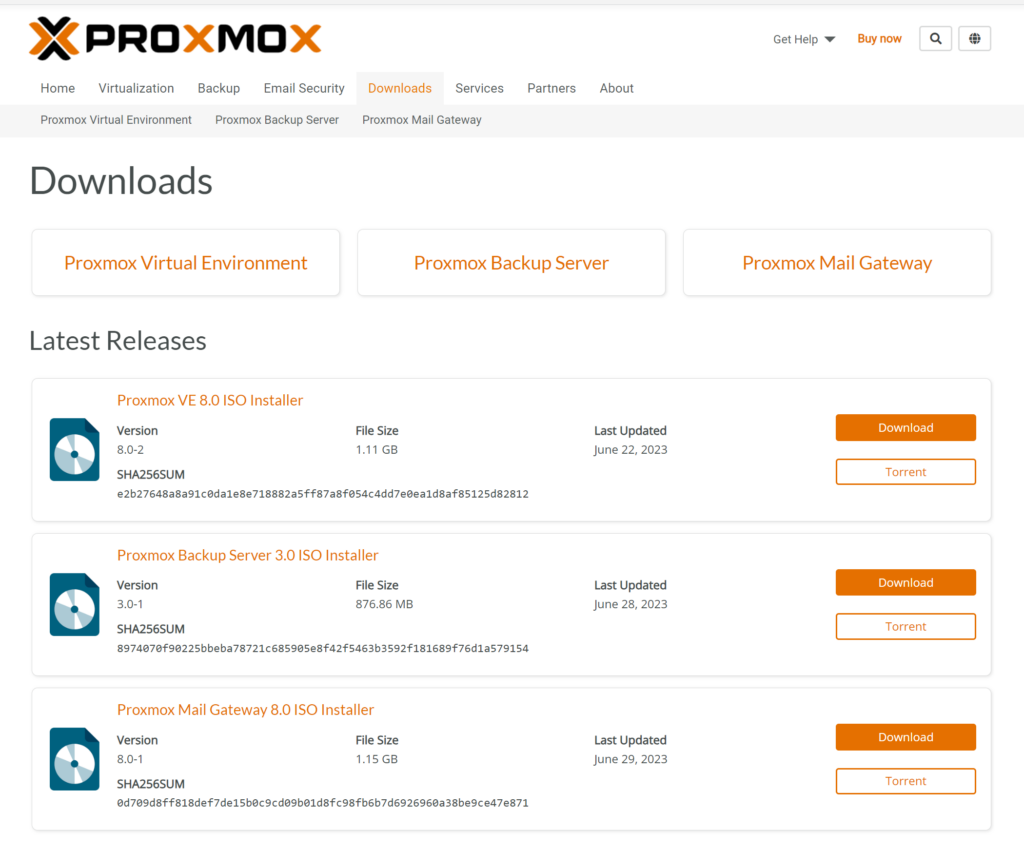
Obtain the Installation Image and Uncompress it
The installation image can be obtained from the homepage mentioned above by selecting the "Download" button or browse directly to https://www.proxmox.com/en/downloads
Select the "Proxmox VE ISO Installer" to download the IOS image and save it to your PC.
Burn the Installation Image to a USB Drive
The easiest way to transfer the installation image to a USB drive is by using software called "Rufus" on Windows or "balenaEtcher" on Mac OSX. See this link for detailed instructions on how to create a bootable USB drive using Rufus or balenaEtcher. When burning the USB for Proxmox, select the "dd" method in Rufus.
Install Proxmox VE on the Vault
Follow the instructions below:
- Insert the USB installation drive into a USB port on the Vault
- Connect the WAN port to the Internet / DHCP server
- While powering up the Vault, press "F11" key and verify that it boots to the BIOS boot options screen
- Select the USB drive to boot from
- Verify the Vault boots to the Proxmox VE Welcome page
- Select "Install Proxmox VE" and verify it begins the installation process
- You can select Graphical Install
- Follow the on screen installation prompts to accept the EULA and install Proxmox VE
- Select the target Disk
- Select the Country, Time Zone, and Keyboard
- Set the Password and Email
- Verify an IP Address is received on the WAN port (enp1s0)
- If one is not automatically provided, try rebooting and attempt again, otherwise, manually fill out an IP address/gateway/DNS server to correlate with your local network
- Accept and begin the installation
- Verify the installation completes and reboots to the login prompt
- Note the IP Address of the unit
- Login with user "root" and the password entered during installation
Proxmox Dashboard
Once Proxmox VE is installed, you can browse to the GUI via the IP Address of the WAN port
- Open up a web browser of your choice on a computer on your network
- Browse to the IP Address, including port number, displayed in the login page
- Ignore any browser warnings and click through
- Verify the login prompt is displayed
- Login as "root" with the password entered during installation
- Verify the Home page is displayed
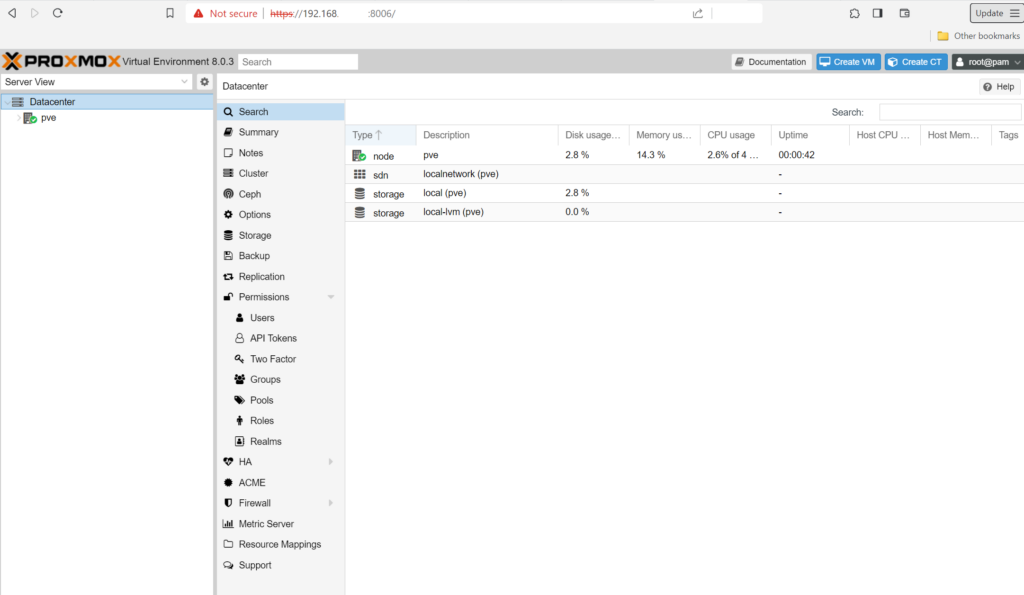
Proxmox VE Dashboard
At this point Proxmox VE has been successfully installed on the Vault. There is documentation available at https://www.proxmox.com/en/downloads/category/documentation-pve for configuration and management of Proxmox VE.
For any hardware issues, feel free to contact Protectli support at: support@protectli.com
PCI Passthrough
After basic installation, hardware devices are seen as "virtual" hardware and can be used by all the VMs and the host in a system. Proxmox provides "PCI Passthrough" which enables direct access via the PCI Express bus to physical devices such as a network port or storage. The advantage of PCI Passthrough is lower latency and higher performance. However, once a device is passed through to a VM, it can't be used by other VMs or the host in the system.
Important Note: IOMMU must be enabled for PCI Passthrough to work. If you update the OS, IOMMU will most likely become disabled, meaning you must reconfigure and enable IOMMU via the command line. Instructions to configure PCI Passthrough/IOMMU can be found at: https://pve.proxmox.com/wiki/Pci_passthrough.
Note that PCI Passthrough is only compatible with platforms that support VT-d. Therefore it is not compatible with the FW2B, FW4B, or FW4C.
Further information and potential use cases can be found on our Utilizing PCI Passthrough (VT-d) article.
System Compatibility
| Vault | Proxmox VE Version | AMI BIOS - Legacy | AMI BIOS- UEFI | BIOS - coreboot | VT-d |
|---|---|---|---|---|---|
| FW2B | 8.0.3 | Tested | Tested | Tested | No |
| FW4B | 8.0.3 | Tested | Tested | Tested | No |
| FW4C | 8.0.3 | Tested | Tested | Tested | No |
| VP2410 | 8.0.3 | Tested | Tested | Tested | Yes |
| VP2420 | 8.0.3 | Failed - Use UEFI | Tested | Tested | Yes |
| VP4630 | 8.0.3 | Failed - Use UEFI | Tested | Tested | Yes |
| VP4650 | 8.0.3 | Failed - Use UEFI | Tested | Tested | Yes |
| VP4670 | 8.0.3 | Failed - Use UEFI | Tested | Tested | Yes |
| FW6A | 8.0.3 | Tested | Tested | Tested | Yes |
| FW6Br2 | 8.0.3 | Tested | Tested | Tested | Yes |
| FW6C | 8.0.3 | Tested | Tested | Tested | Yes |
| FW6D | 8.0.3 | Tested | Tested | Tested | Yes |
| FW6E | 8.0.3 | Tested | Tested | Tested | Yes |
| VP66XX | 8.1 | N/A | Tested | TBD | Yes |
*Note: Proxmox VE can be successfully installed on all Protectli Vaults, but for any hypervisor scenario we recommend using higher-performance models (VP Series and 6-Port Vaults) for the best results.