Have a Question?
How to Install Ubuntu on the Vault
Ubuntu Overview
Ubuntu is an open source Linux operating system with an extensive feature set that has been successfully installed on all of the Vault platforms. The Ubuntu home page is at www.ubuntu.com. There are Long Term Support (LTS) versions and current development versions. Multiple versions have been installed on the Vault. This article will describe installation of one of the recent desktop LTS versions.
To install a fresh instance of Ubuntu onto the Vault, there is a relatively straight forward process that is very similar to installing any operating system onto any computer.
Verify Hardware Recommendations
Ubuntu has good documentation covering the hardware requirements on their website. Be sure to review the recommendations here https://help.ubuntu.com/community/Installation/SystemRequirements to verify that the proper memory and storage is available for the intended applications.
Install Ubuntu
Obtain the Installation Image
The Ubuntu installation image can be downloaded from https://www.ubuntu.com/download/desktop The same image can be used to install Ubuntu on any of the Vault platforms. It is important to choose the correct options when downloading the image.
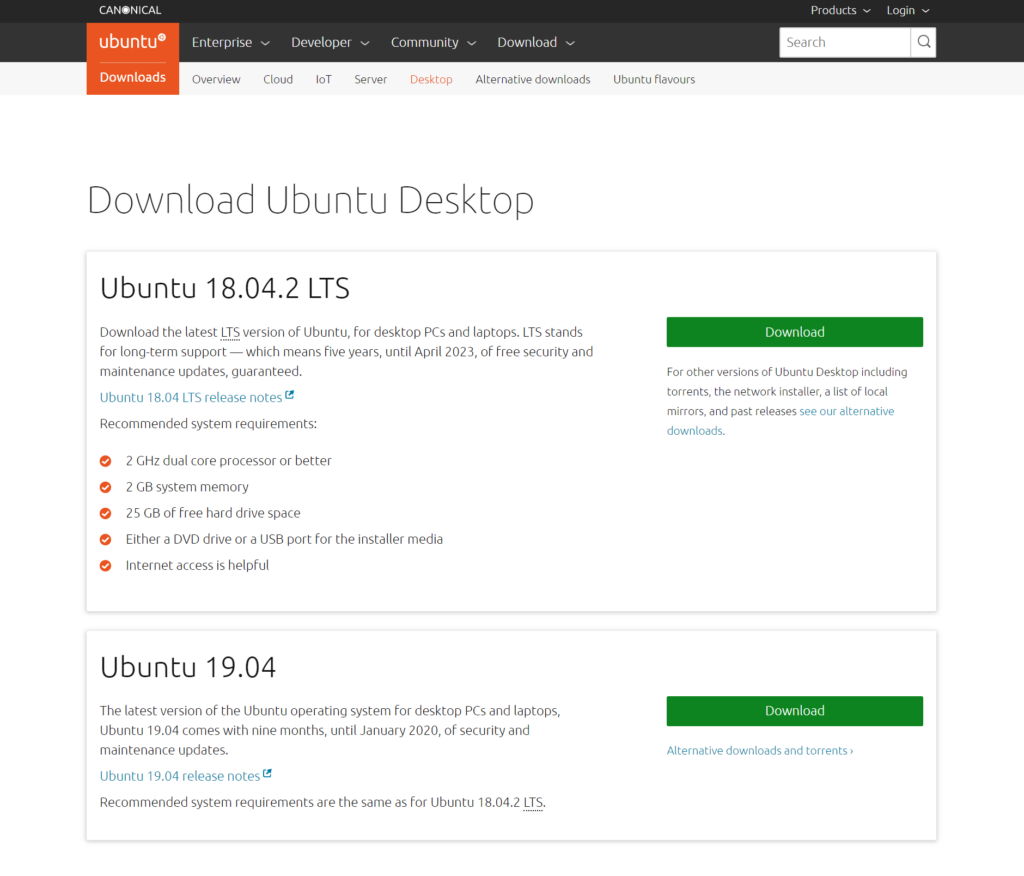
We used the LTS 18.04.2 version for this guide but version LTE 20.04 and 22.04 has also been verified.
Burn the Installation Image to a USB Drive
The easiest way to transfer the installation image to a USB drive is by using software called "Rufus" on Windows or "balenaEtcher" on Apple OSX. See this link for detailed instructions on how to create a bootable USB drive using Rufus or balenaEtcher. The VP46XX series uses UEFI; therefore, select the UEFI partition shown during boot.
Note: When using Rufus there will be a "Download required" notification about needing a new version of Syslinux. Click yes and then install in ISO mode.
Note: If installing using a VGA monitor and USB keyboard on a Vault FW1x, FW2x, or FW4x, be sure to use a USB stick and a USB keyboard with a plug that is relatively skinny. The 2 USB ports on the Vault are very close to each other and if either the USB stick or the USB keyboard plug is too wide, you will not be able to plug both in at the same time, which will prevent you from doing the installation.
Install the Operating System on the Vault
Once the Ubuntu installation image is properly copied to the USB drive, it is ready to be installed on the Vault.
- Verify
- The Vault is powered down.
- The monitor is connected.
- The USB keyboard is plugged in.
- An Ethernet connection is in the "WAN" port that is connected to a DHCP server.
- Insert the USB install drive into the other USB port on the Vault.
- While powering up the Vault when the splash screen is displayed, press "F11" key until a boot menu is displayed.
- Select the USB drive to boot from.
- Verify the Vault boots to the Ubuntu installation.
- Select "Install Ubuntu" .
- When prompted;
- select "Download Updates" and "Install Third Party Hardware" and continue.
- select "Erase Disk and Install Ubuntu" and continue.
- select "Timezone", "Keyboard Layout" and continue.
- enter "Names" and "Password" and continue.
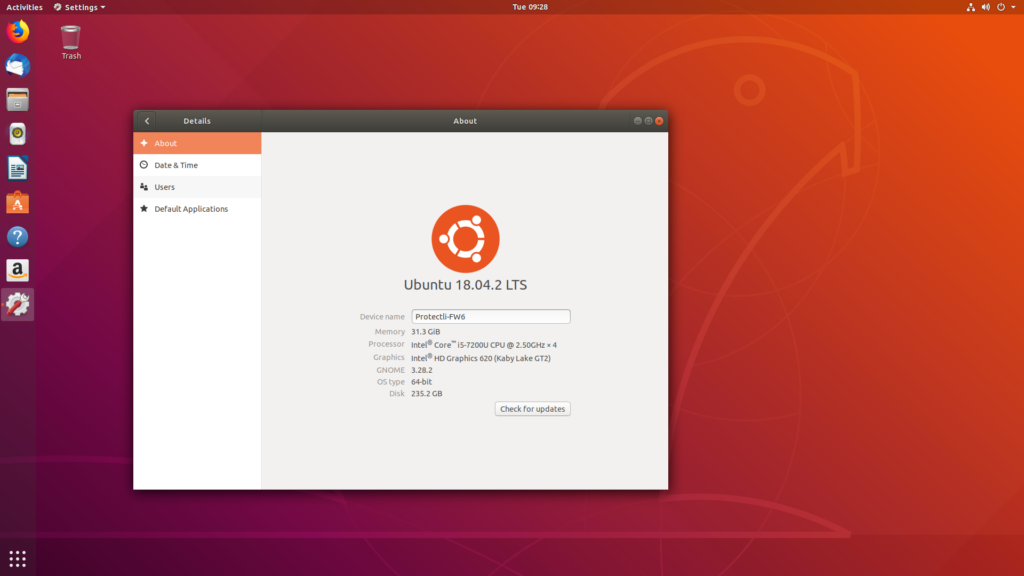
- Continue the installation and verify that it completes successfully.
- Reboot the system and verify that it boots to Ubuntu.
Ubuntu has comprehensive install guide here and support for configuring the OS located here
WiFi Fix
The latest version of ubuntu uses a different firmware version required for Protectli WiFi Kits (WM-M2-001 & WM-PCIE-001).
To fix the firmware visit the Firmware Fix section of our WiFi on the Vault article, click here.
***This fix does not include the WAP01K WiFi Kit, this model requires no change to the OS files***
At this point, Ubuntu should be up and running on The Vault. However, If you experience any issues, please feel free to reach out to us at: support@protectli.com.
Ubuntu BIOS Compatibility
The table below shows the compatibility of tested releases of Ubuntu and BIOS on each of the Vaults.
| Vault | Ubuntu Version | AMI BIOS - Legacy | AMI BIOS - UEFI | BIOS - coreboot |
|---|---|---|---|---|
| FW2B | 20.04.1 / 22.04.2 | Tested | Tested | Tested |
| FW4B | 20.04.1 / 22.04.2 | Tested | Tested | Tested |
| FW4C | 20.04.1 / 22.04.2 | Tested | Tested | Tested |
| FW6A | 20.04.1 / 22.04.2 | Tested | Tested | Tested |
| FW6Br2 | 20.04.1 / 22.04.2 | Tested | Tested | Tested |
| FW6C | 20.04.1 / 22.04.2 | Tested | Tested | Tested |
| FW6D | 20.04.1 / 22.04.2 | Tested | Tested | Tested |
| FW6E | 20.04.1 / 22.04.2 | Tested | Tested | Tested |
| VP2410 | 20.04.1 / 22.04.2 | Tested | Tested | Tested |
| VP2420 | 20.04.1 / 22.04.2 | N/A | Tested | Tested |
| VP4630 | 20.04.1 / 22.04.2 | N/A | Tested | Tested |
| VP4650 | 20.04.1 / 22.04.2 | N/A | Tested | Tested |
| VP4670 | 20.04.1 / 22.04.2 | N/A | Tested | Tested |
| FW2B | 18.04.5 | Tested | Tested | Tested |
| FW4B | 18.04.5 | Tested | Tested | Tested |
| FW6A | 18.04.5 | Tested | Tested | Tested |
| FW6C | 18.04.5 | Tested | Tested | Tested |
| FW6B | 18.04.5 | Tested | Tested | Tested |
| END OF LIFE | ||||
| FW1 | 18.04.5 | Tested | Tested | N/A |
| FW2 | 18.04.5 | Tested | Tested | N/A |
| FW4A | 18.04.5 | Tested | Tested | N/A |
| FW1 | 20.04.1 | Tested | Tested | N/A |
| FW2 | 20.04.1 | Tested | Tested | N/A |
| FW4A | 20.04.1 | Tested | Tested | N/A |
If you have any questions, feel free to reach out to us at support@protectli.com, or find more information in our Knowledge Base.