Have a Question?
How to Install OpenBSD on the Vault
OpenBSD Overview
OpenBSD is a common open source UNIX-like operating system. Information regarding OpenBSD can be found on the home page at openbsd.org
Download OpenBSD
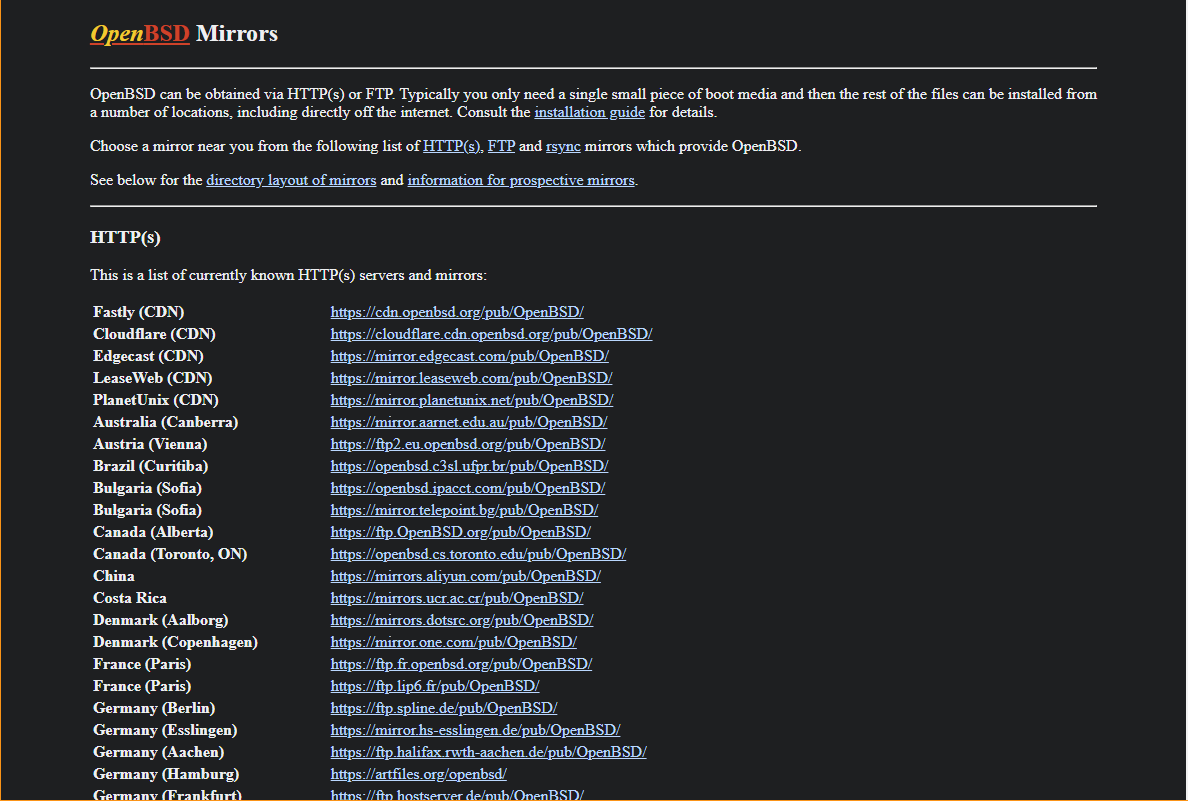
OpenBSD is highly configurable and there are multiple versions of OpenBSD and multiple system targets so it is important to get the correct installation file. OpenBSD can be downloaded from one of many mirrors. The mirrors are available at https://www.openbsd.org/ftp.html
Follow these steps to download OpenBSD for the Vault:
- Select a mirror
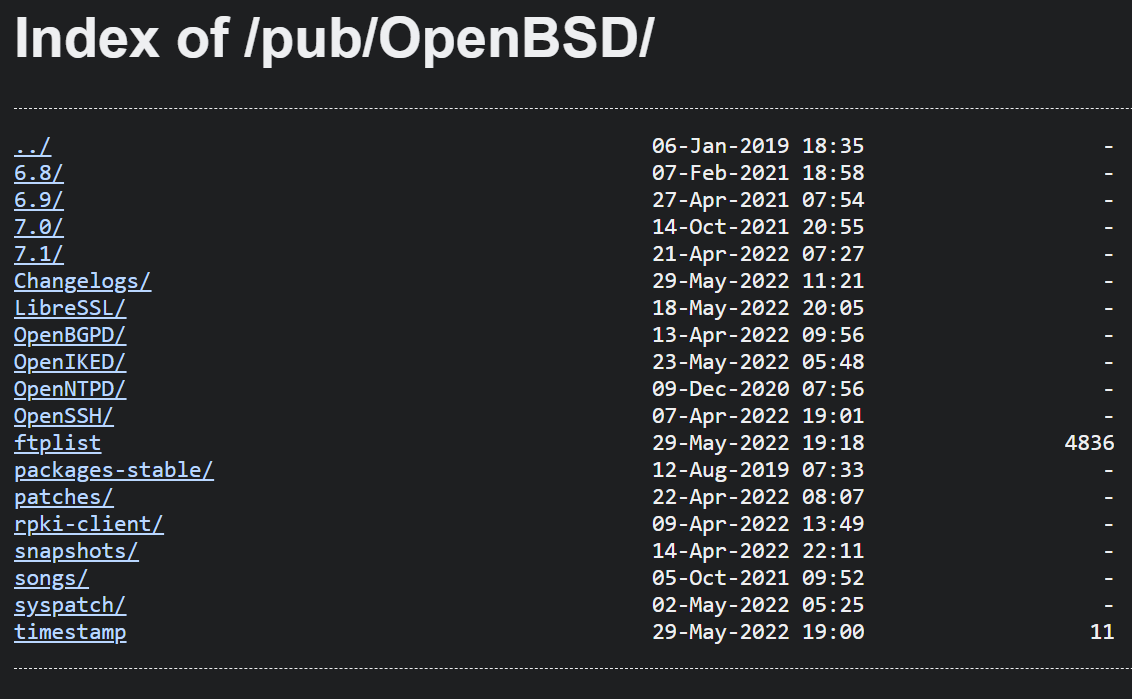
- Select the version of OpenBSD (7.1 was tested for this installation)
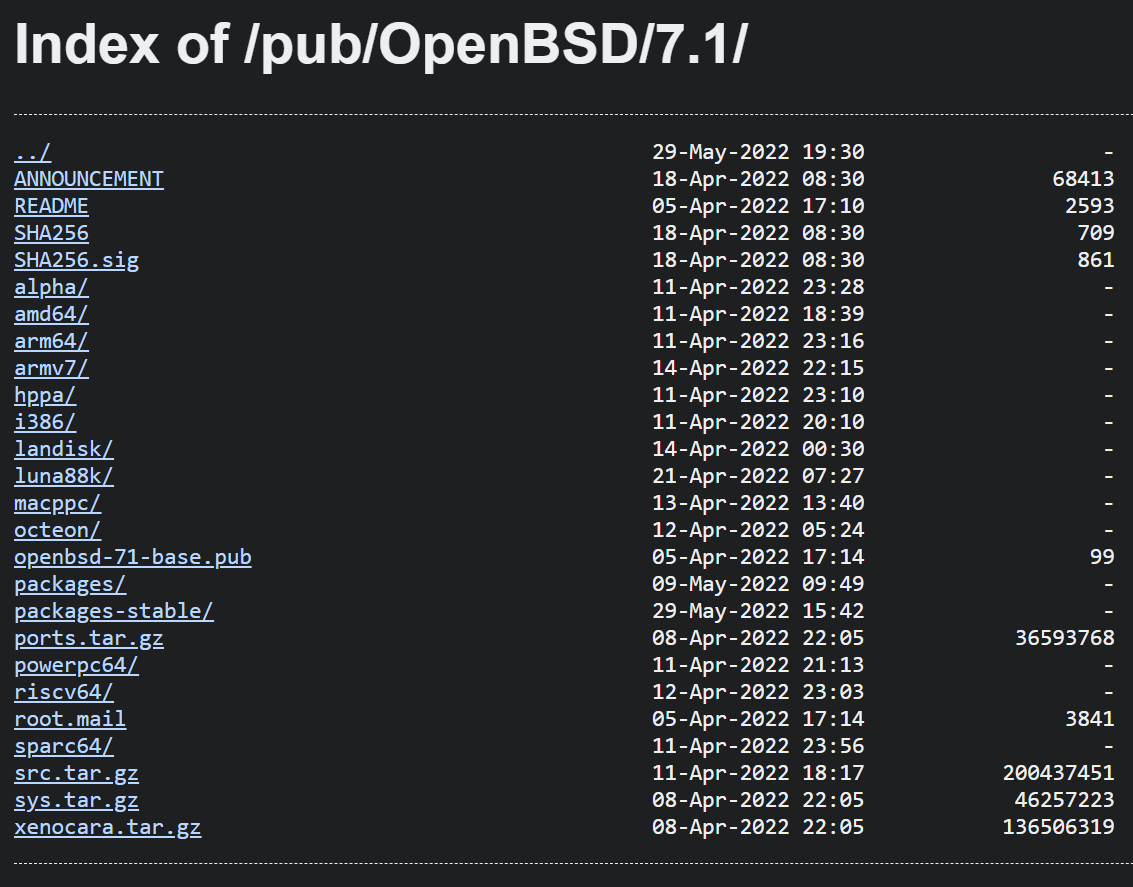
- Select "amd64" for 64 bit
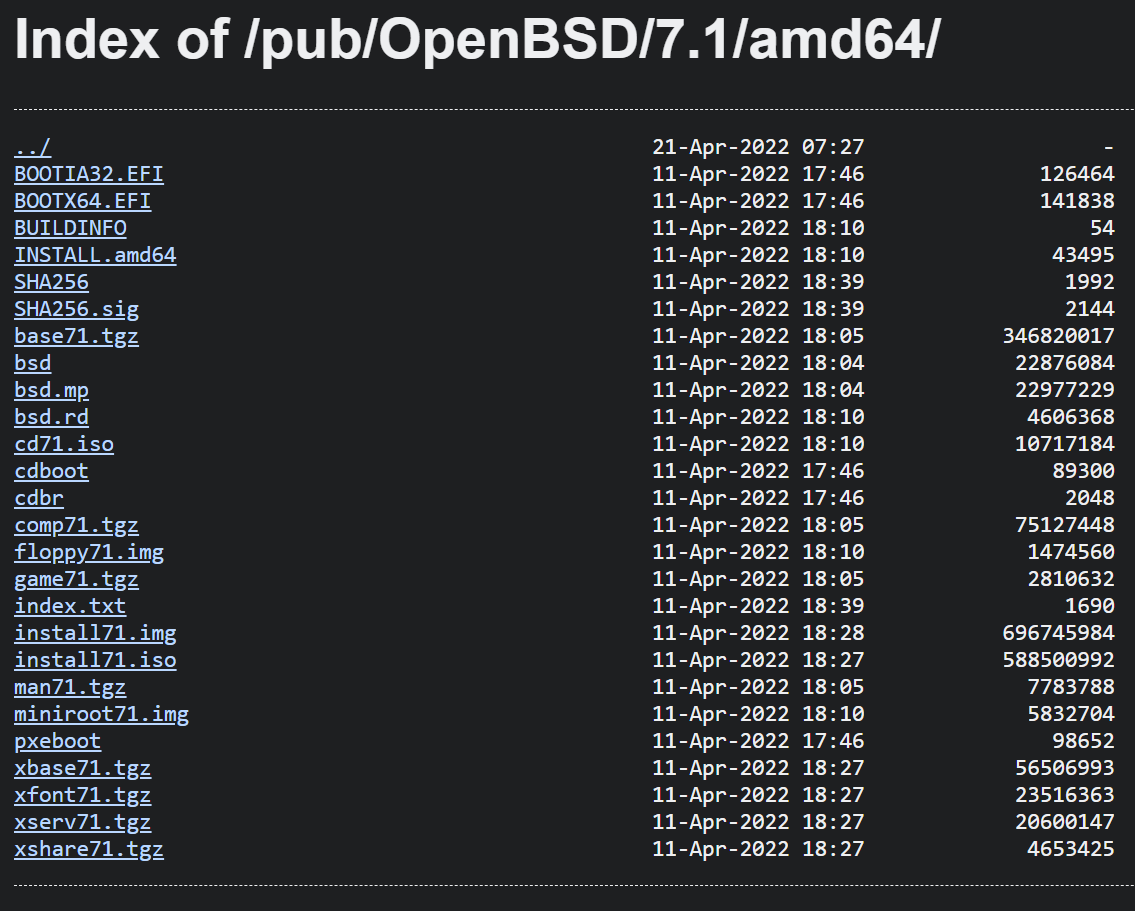
- For this installation we used a bootable USB select: install71.img
- Verify that an image is downloaded. For install71.img that will be ~664MB
Burn the installation image to a USB drive
The easiest way to transfer the installation image to a USB drive is by using software called "Rufus" on Windows or "balenaEtcher" on Apple OSX. See this link for detailed instructions on how to create a bootable USB drive using Rufus or balenaEtcher.
Install OpenBSD on The Vault
Note: We have discovered an issue with the 7.1, 7.2 and 7.3 installer and our VP2420 where the installer won't see the onboard eMMC chip as a drive for installation.
- Verify that the Vault is powered down
- Verify that the VGA or HDMI monitor is connected to the Vault
- Verify that a USB keyboard is plugged in to the Vault
- Insert the USB install drive into the another USB port on the Vault
- While powering up the Vault, press "F11" key and hold it down until it boots to the BIOS and you see the boot options screen
- Select the USB drive to boot from
- Verify that the Vault boots and begins the installation process
- Follow the installation prompts. Note: in most cases the defaults are the desired response.
- Select (I) for Installation
- Select the keyboard layout [default]
- Enter the Hostname (we used "OpenBerkSoftDist" for this example)
- Select the Network Interface to configure:
- em0 is "WAN" on the Vault so select [em0]
- Configure IPv4 address for em0: select [autoconf]
- Configure IPv6 address for em0: select [none]
- Which network interface do you wish to configure: select [done]
- Set the root password: must set 2x to proceed
- Start ssh(8) by default: recommend [yes]
- Do you want the X Window System to be started: recommend [yes]
- Change the default console to com0: recommend [no]
- Setup a user: recommend [no] for installation
- Allow root ssh login as desired: recommend [no]
- Set timezone
- Which disk is the root disk? Enter ‘?’ to verify the disks:
- sd0 should be the mSATA SSD and sd1 the USB
- If on a VP2410, sd1 will be the onboard Samsung 8GTF4R (7.3GB) and sd2 will be the USB
- On ALL Vault models: select [sd0] (the SSD)
- Before doing the next step, if you are using a VP Series Vault you must select GPT as the boot manager, otherwise:
- Select (W)hole disk MBR: select [W]
- NOTE:
- Select (A)uto layout: select [A]
- Which disk do you want to initialize: select [done]
- Location of sets: enter "disk"
- Is the disk partition already mounted: enter "no"
- Which disk contains the install media:
- For all FWB Vaults select [sd1]
- "Which sd1 partition has the install sets?" select [a] (it should be the largest partition)
- For VP2410 Vault Pros select [sd2]
- "Which sd2 partition has the install sets?" select [a] (it should be the largest partition)
- For all FWB Vaults select [sd1]
- Pathname to the sets: select default [7.1/amd64]
- Verify all sets are selected (will be an "X" next to each set)
- Set name(s), select [done]
- If prompted for SHA256.sig, continue without verification: enter "yes"
- Installation will continue
- Location of sets: (Second time it asks this) select [done]
- Installation will continue
- Select (R)eboot and remove USB when screen goes black
- Verify system boots to the login prompt
- Login as "root" with the password set during installation
- OpenBSD is now successfully installed on The Vault
System Compatibility
The table below shows the latest tested release of OpenBSD on each of the Vaults.
| Vault | Latest Version Tested | BIOS - AMI | BIOS - coreboot |
|---|---|---|---|
| FW2B | OpenBSD 7.1 | Tested | Tested |
| FW4B | OpenBSD 7.1 | Tested | Tested |
| FW4C | OpenBSD 7.4 | Tested | Tested (Use GPT during install) |
| VP2410 | OpenBSD 7.1 | Tested | Tested (Use GPT during install) |
| VP2420 | OpenBSD 7.1 | TBD | Tested (Use GPT during install) |
| FW6A | OpenBSD 7.1 | Tested | Tested |
| FW6Br2 | OpenBSD 7.1 | Tested | Tested |
| FW6C | OpenBSD 7.1 | Tested | Tested |
| FW6D | OpenBSD 7.1 | Tested | Tested |
| FW6E | OpenBSD 7.1 | Tested | Tested |
| VP4630 | OpenBSD 7.1 | TBD | TBD |
| VP4650 | OpenBSD 7.1 | TBD | TBD |
| VP4670 | OpenBSD 7.1 | TBD | TBD |
| VP6600 Series | 7.4 | Tested | TBD |
Note: OpenBSD has very limited support for newer wireless cards and at this time OpenBSD does not support our Qualcomm Atheros ac WiFi card. There is support for a/b/g/n protocols and a description/list can be found in the OpenBSD handbook.
At this point, OpenBSD should be up and running on The Vault. However, if you experience any issues, please feel free to reach out to us at: support@protectli.com or find more information in our Knowledge Base.