Have a Question?
How to install ESXi 7 on the Vault
ESXi Overview
ESXi is among the list of tested hypervisors installed on the vault. Protectli vaults can handle various operating systems and Hypervisors. This article describes how to install ESXi 7.0 on the vault. The same steps can be taken to install older versions of ESXi; however, we recommend using the most current version. See the compatibility chart at the bottom. Beware of the following: VMware KB article "End of General Support for vShpere 6.5 and vSAN 6.5.6 (83223) and End of General Support for vSphere 6.5.x and vSphere 6.7.x.
ESXi 7.0 can be installed on all of the Vault platforms. The specific version used in this test is 7.0 Update3d.
Verify Hardware Requirements/Recommendations
Note: Intel 82583V NICs are no longer supported as of ESXi7.0. Please verify your NICs before attempting to upgrade to ESXi7.0.
Ensure you understand your hardware requirements before installing ESXi. We recommend using our VP or FW6 series vault to ensure full feature integration. VMware requires a minimum of 4 GB RAM and 128 GB storage, but we used 64 GB and 480 GB storage as our base install. If possible, you should double both the RAM and storage amount from the base requirement to future proof. Our lowest install consisted of an FW2B with 8 GB of RAM and 240 GB of mSATA.For more information about ESXi 7 Hardware requirements, click this (link).
Download ESXi
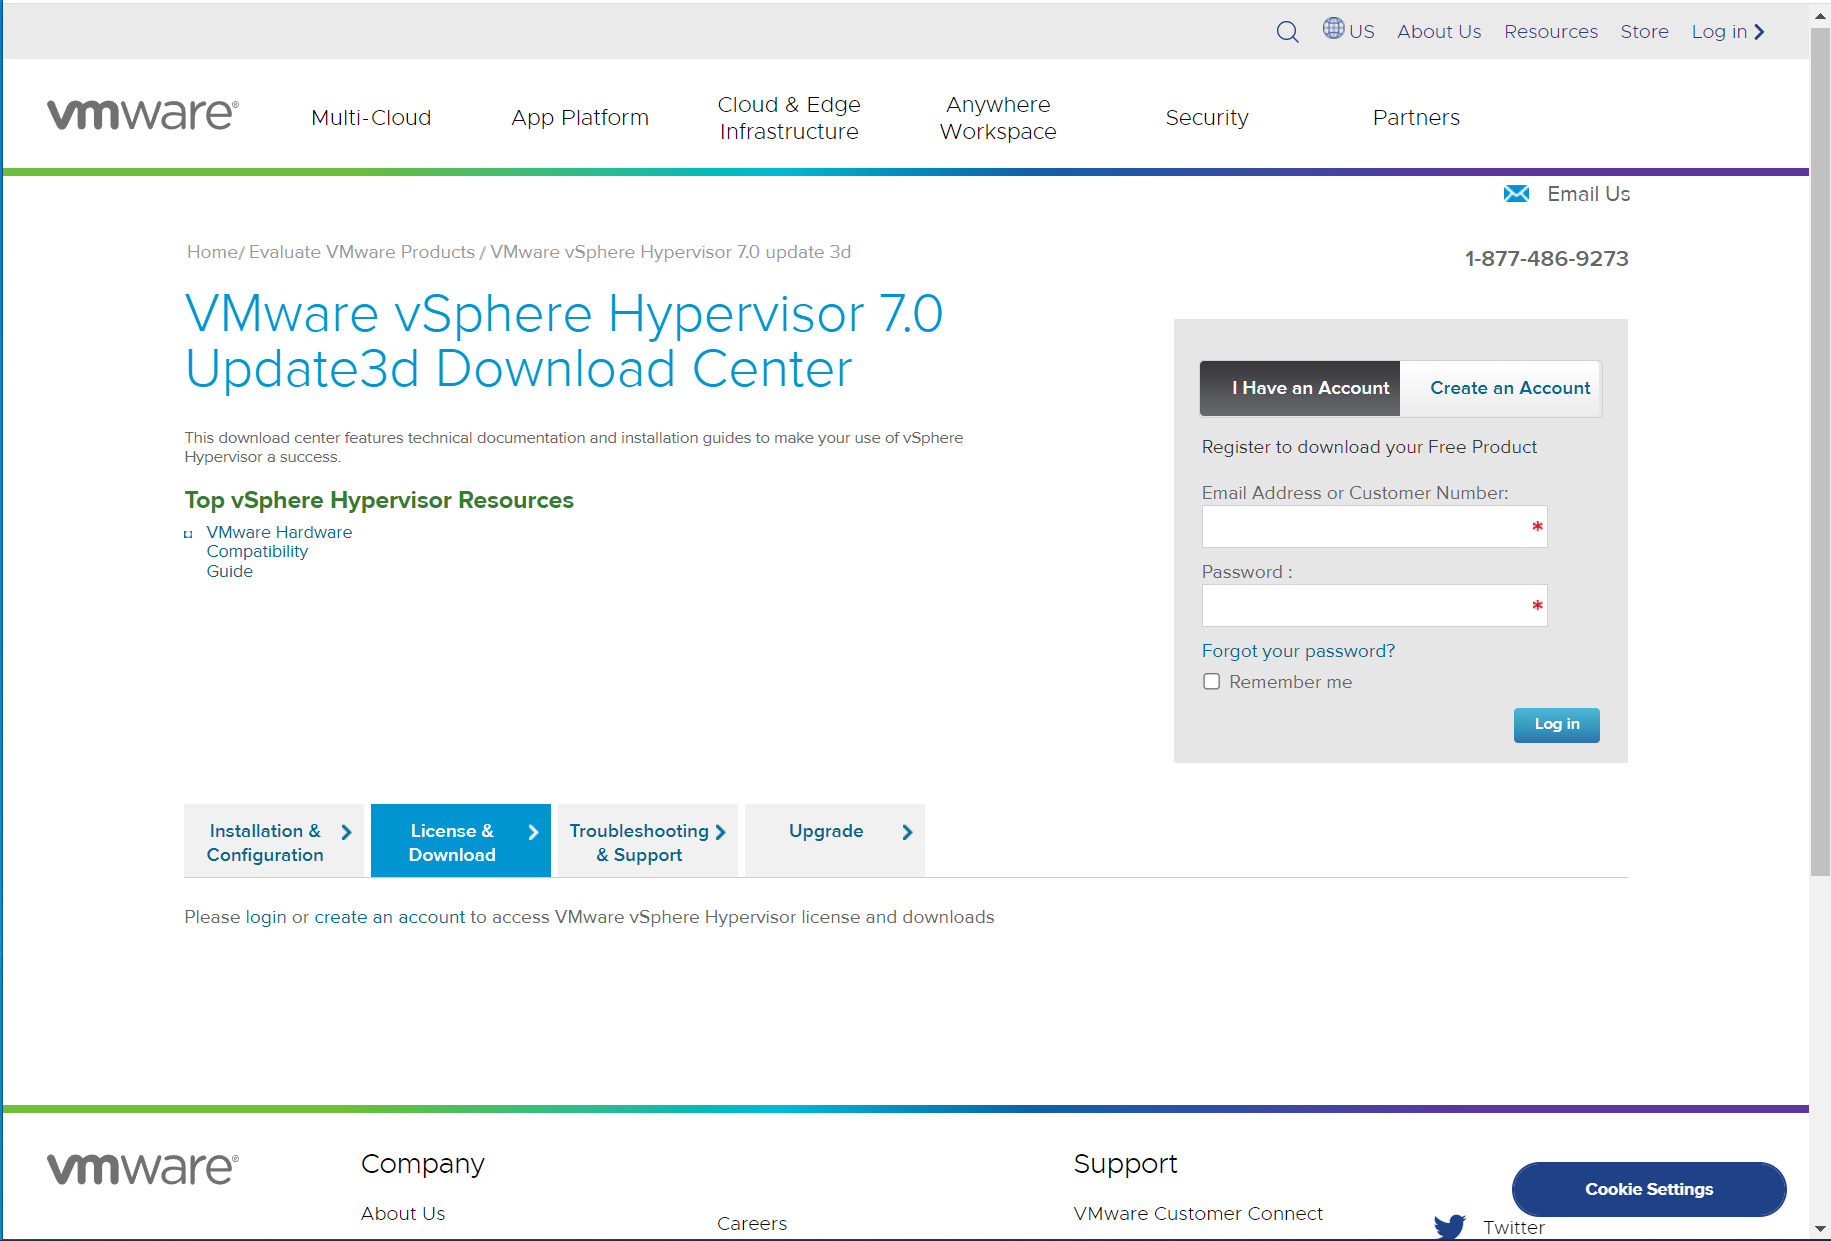
Obtain the Installation Image
To gain access, you will need to register with VMware Customer Connect. ESXi can be downloaded for free here https://customerconnect.vmware.com/en/web/vmware/evalcenter?p=vsphere-eval-7
ESXi Account Login or Creation

ESXi ISO Download
Burn the Installation image to a USB Drive
The easiest way to transfer the installation image to a USB drive is by using software called "Rufus" on Windows or "balenaEtcher" on Apple OSX. See this link for detailed instructions on creating a bootable USB drive using Rufus or balenaEtcher.
Note: Use a relatively skinny USB since the ports are close together and can prevent you from attaching two devices.
Install ESXi 7 on the Vault
- Power off the vault, then connect the following in no particular order;
- Monitor
- Keyboard
- USB with ESXi 7.0 ISO
- Connect DHCP-enabled ethernet cable to WAN port.
- Power on the vault
- Follow the on-screen installation instructions.
Note: If the storage device is not empty, you must press F11 at the Protectli splash screen, then select the USB drive.
- Install Complete
- To access the ESXi management console, browse "https://<IP address>/ui" Example https://192.168.1.107/ui/#/host.
- Login
- Username: root
- Password: created during installation
- ESXi dashboard is displayed
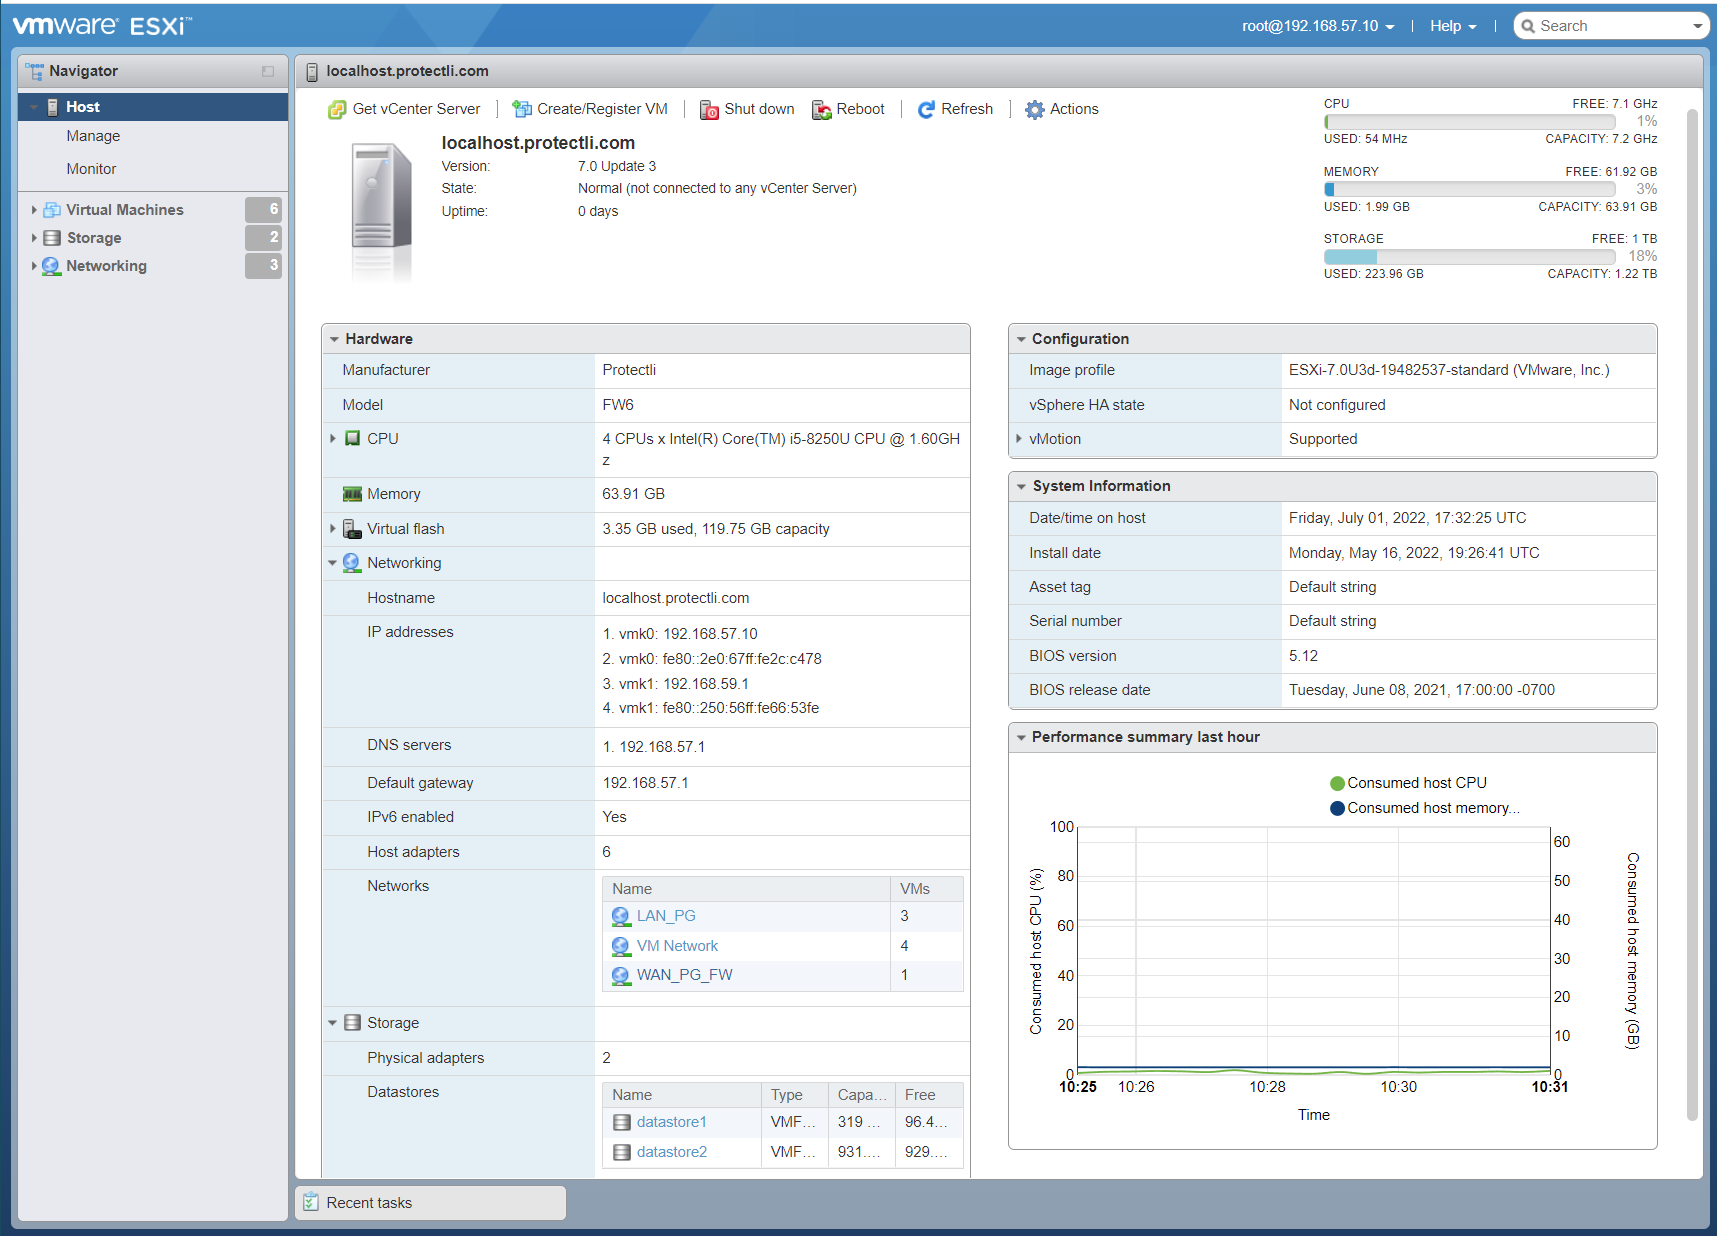
ESXi 7.0 Dashboard
At this point, ESXi 7 is up and running on the vault. The host can start provisioning virtual machines and appliances.
Optional SSD on Vaults (VPs and FW6 series)
The FW6 series ships with a SATA cable, SATA power cable, and 2.5" drive mount to support an optional SSD drive (we recommend using an SSD drive, not a spinning hard drive). Adding an SSD drive requires no software or BIOS modifications. See the screenshot below for an example of an additional 1TB drive added to an FW6 with ESXi 7 installed.
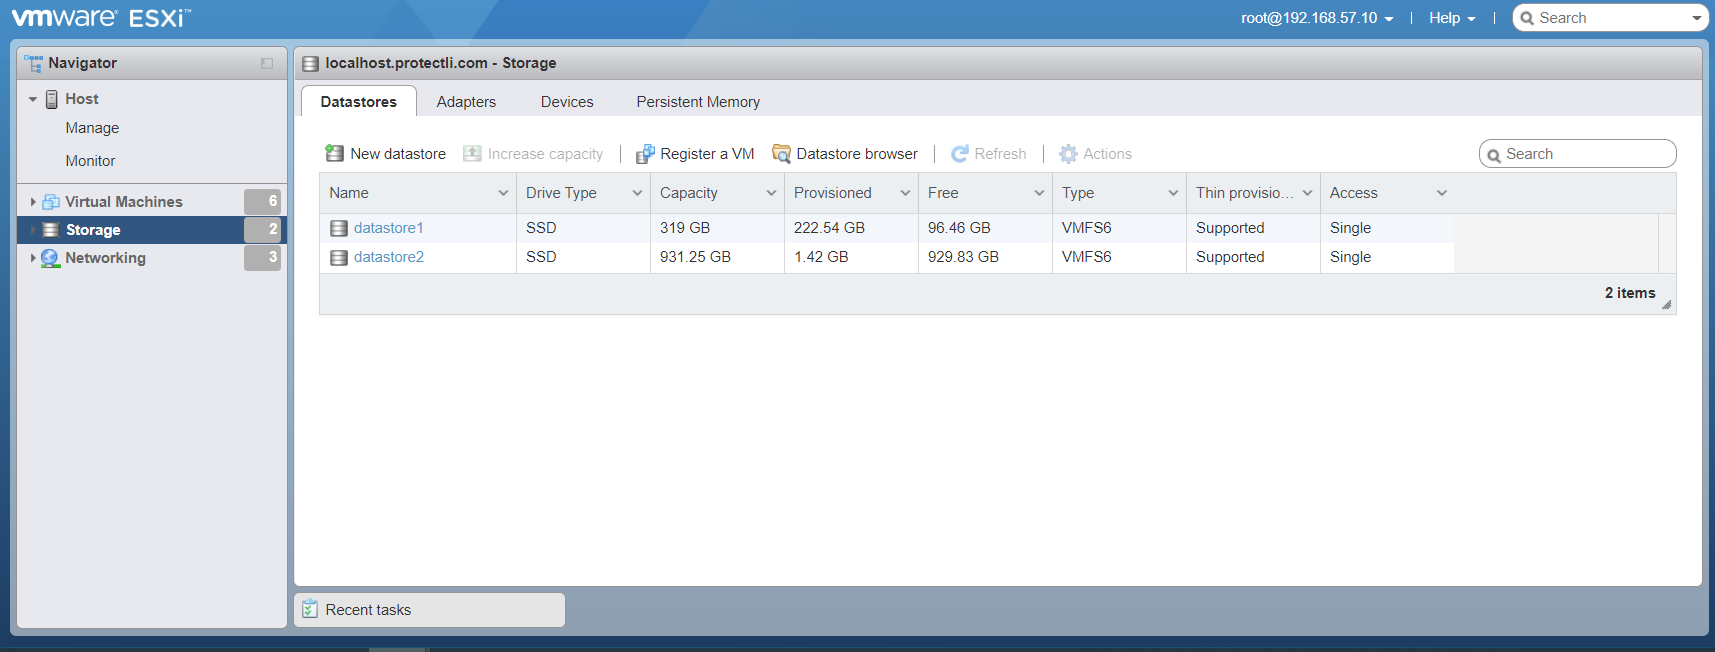
ESXi with optional 2.5" SSD
BIOS Compatibility
The table below shows the compatibility of tested releases of ESXi and BIOS on each of the Vaults.
Note: The compatibility test below relates to our current vaults listed on our Product Comparison page.
If you experience any issues, please feel free to reach out to support@protectli.com.
Vault ESXi Version AMI BIOS - Legacy AMI BIOS - UEFI BIOS - coreboot
FW2B 7.0 Workaround Tested Tested
FW4B 7.0 Workaround Tested Tested
FW6A 7.0 Tested Tested Tested
FW6B 7.0 Tested Tested Tested
FW6Br2 7.0 Tested Tested Tested
FW6C 7.0 Tested Tested Tested
FW6D 7.0 Tested Tested Tested
FW6E 7.0 Tested Tested Tested
VP2410 7.0 Tested Tested Tested
VP2420 7.0 N/A Workaround N/A
VP4630 7.0 N/A Workaround N/A
VP4650 7.0 N/A Workaround N/A
VP4670 7.0 N/A Workaround N/A
FW2B 6.7 Tested Tested Tested
FW4B 6.7 Tested Tested Tested
FW6A 6.7 Tested Tested Tested
FW6B 6.7 Tested Tested Tested
FW6C 6.7 Tested Tested Tested
FW6D 6.7 Tested Tested Tested
FW6E 6.7 Tested Tested Tested
VP2410 6.7 Tested Tested Tested
As always, if you need additional assistance, please contact us at support@protectli.com or find more information in our Knowledge Base.