Have a Question?
How to install ESXi 8 on the Vault
ESXi 8 Overview
This article describes how to install ESXi 8.0.0. standard edition on a protectli vault. Multigig Network Interface Cards (NICs) are now standard in ESXi 8 OEM firmware and driver packages, allowing compatibility with i225, i226, and x710-BM2 NICs found in certain Protectli Vaults. Additionally, you can leverage Protectli's TPM 2.0 with the VP2400, VP4600, and VP6600 series to enforce secure configurations. To see Protectli TPM 2.0, click here, or to find more information on ESXi 8 TPM configurations click here.
For more information on ESXi 8 release notes, click here.
Verify Hardware Requirements/Recommendations
VMware now requires a minimum of 8 GB RAM instead of 4 GB and 128 GB storage, but we used 64 GB and 480 GB storage as our base install. If possible, you should double both the RAM and storage amount from the base requirement to future proof. For more information about ESXi 8 Hardware requirements, click here.
As previously mentioned in our knowledge base article "How to install ESXi 7 on the Vault," Ensure you understand your hardware requirements before installing ESXi. We recommend using our FW6, VP4600 or VP6600 Series Vaults to ensure full-feature capabilities.
Download ESXi 8
Obtaining the Installation Image
To gain access, you will need to register with VMware Customer Connect. ESXi can be downloaded for free here.
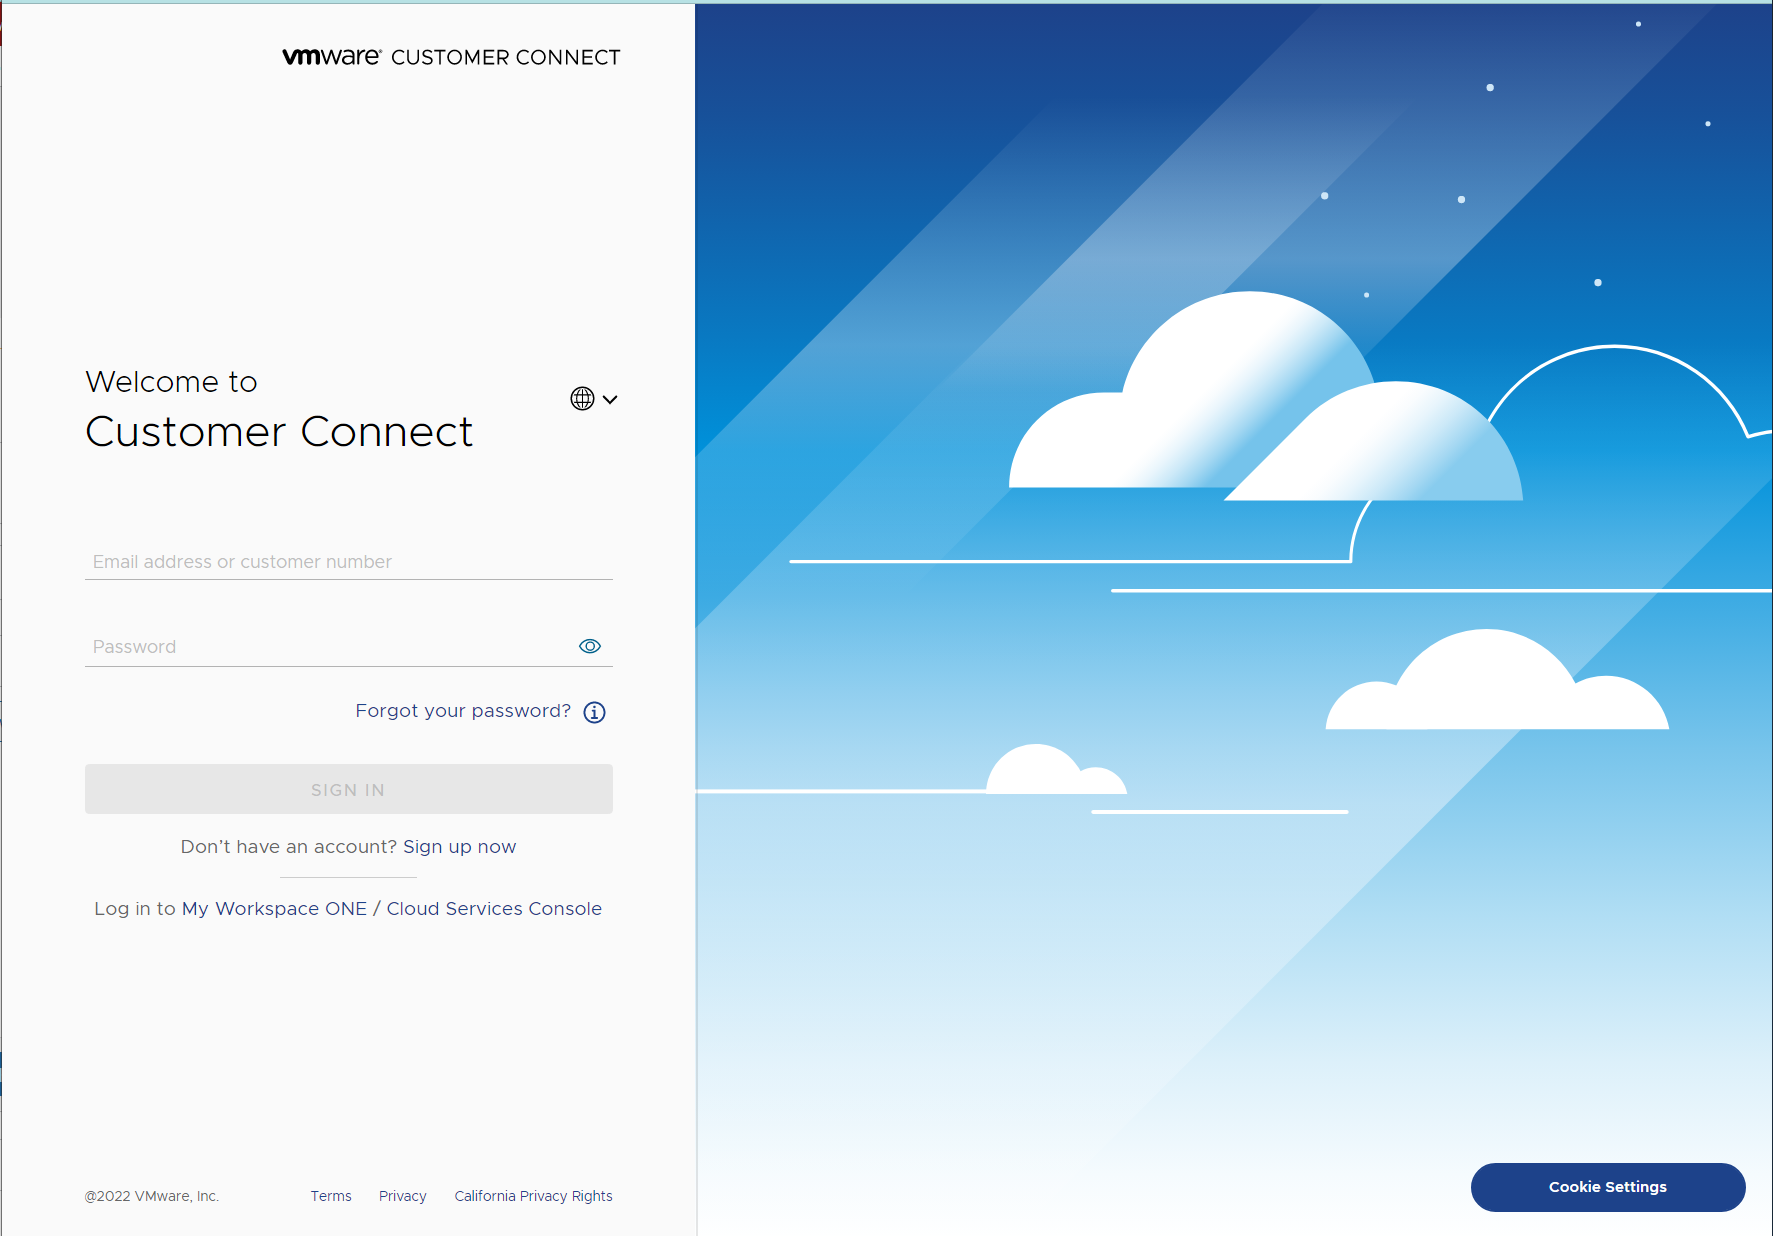
ESXi Account Login or Creation
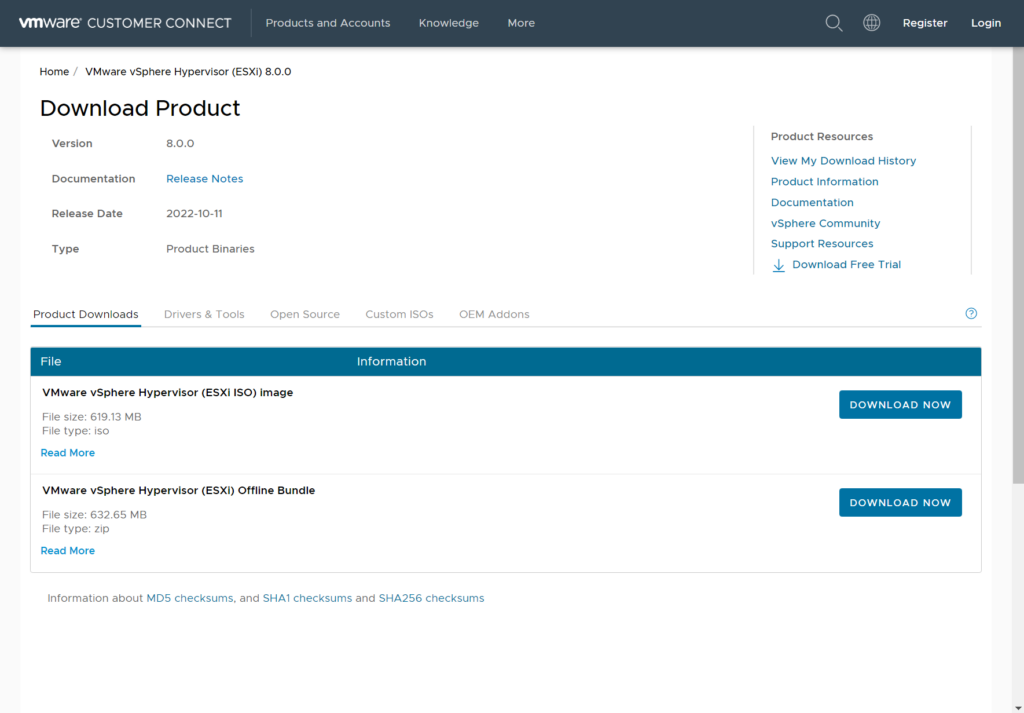
ESXi ISO Download
Burn the Installation image to a USB Drive
The easiest way to transfer the installation image to a USB drive is by using software called "Rufus" on Windows or "balenaEtcher" on Apple OSX. See this link for detailed instructions on creating a bootable USB drive using Rufus or balenaEtcher.
Note: Use a relatively skinny USB since the ports are close together and can prevent you from attaching two devices.
VP6600 Series Install Workaround (Important!)
The CPU found in the VP6600 series will almost immediately trigger a Purple Screen of Death, "Fatal CPU mismatch on feature" during the installation. There is a work around to fix this. This article by William Lam gives a great description of why this occurs, and a way to fix the issue.
- Follow the guide by William Lam for instructions
- A useful tip for when you get to Step 3 on that article is to use "vi" to edit the boot.cfg
- vi /vmfs/volumes/BOOTBANK1/boot.cfg
- press the "i" key on your keyboard, navigate to the end of the line you need to edit and append the kernel option
- To save your changes and quit, press "Escape" key, type ":" then "w" then "q", press Enter key
Install ESXi 8 on the Vault
- Power off the vault, then connect the following in no particular order;
- Monitor
- Keyboard
- USB with ESXi 8.0 ISO
- Connect DHCP-enabled ethernet cable to WAN port.
- Power on the vault
- Follow the on-screen installation instructions.
Note: If the storage device is not empty, you must press F11 at the Protectli splash screen, then select the USB drive.
- Install Complete
- To access the ESXi management console, browse "https://<IP address>/ui/#/login" Example https://192.168.1.107/ui/#/login.
- Login
- Username: root
- Password: created during installation
- ESXi dashboard is displayed
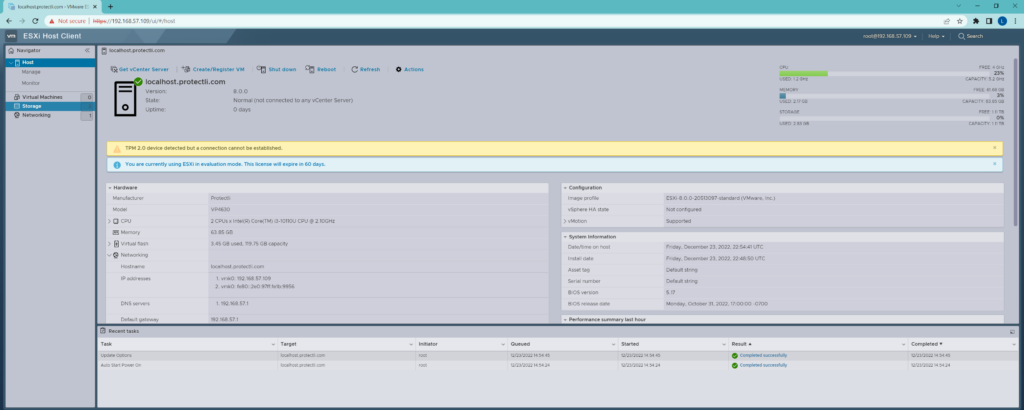
ESXi Dashboard (no TPM)
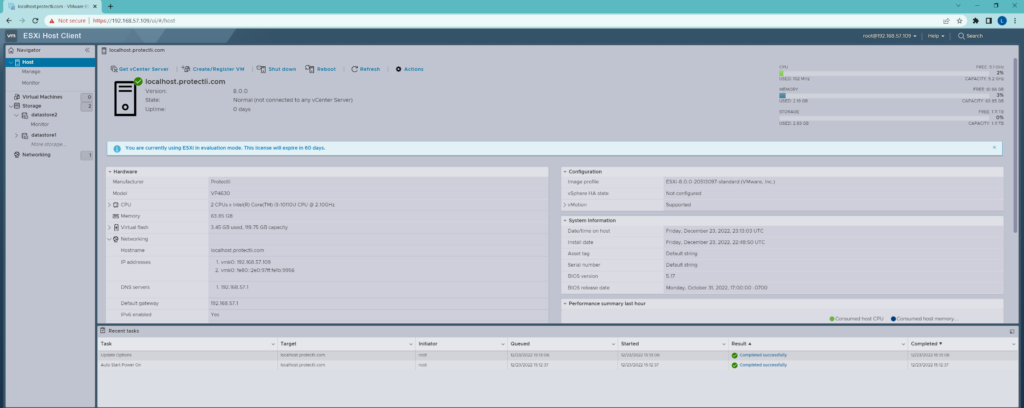
ESXi Dashboard (with TPM)
At this point, ESXi 8 is up and running on the vault. The host can start provisioning virtual machines and appliances.
Optional SSD on Vaults (FW6 and VP series)
The FW6 and VP series ship with a SATA cable, SATA power cable, and 2.5" drive mount to support an optional SSD drive (we recommend using an SSD drive, not a spinning hard drive). Adding an SSD drive requires no software or BIOS modifications. See the screenshot below for an example of an additional 1TB drive added to a VP4630 with ESXi 8 installed.
Theoretical Speeds
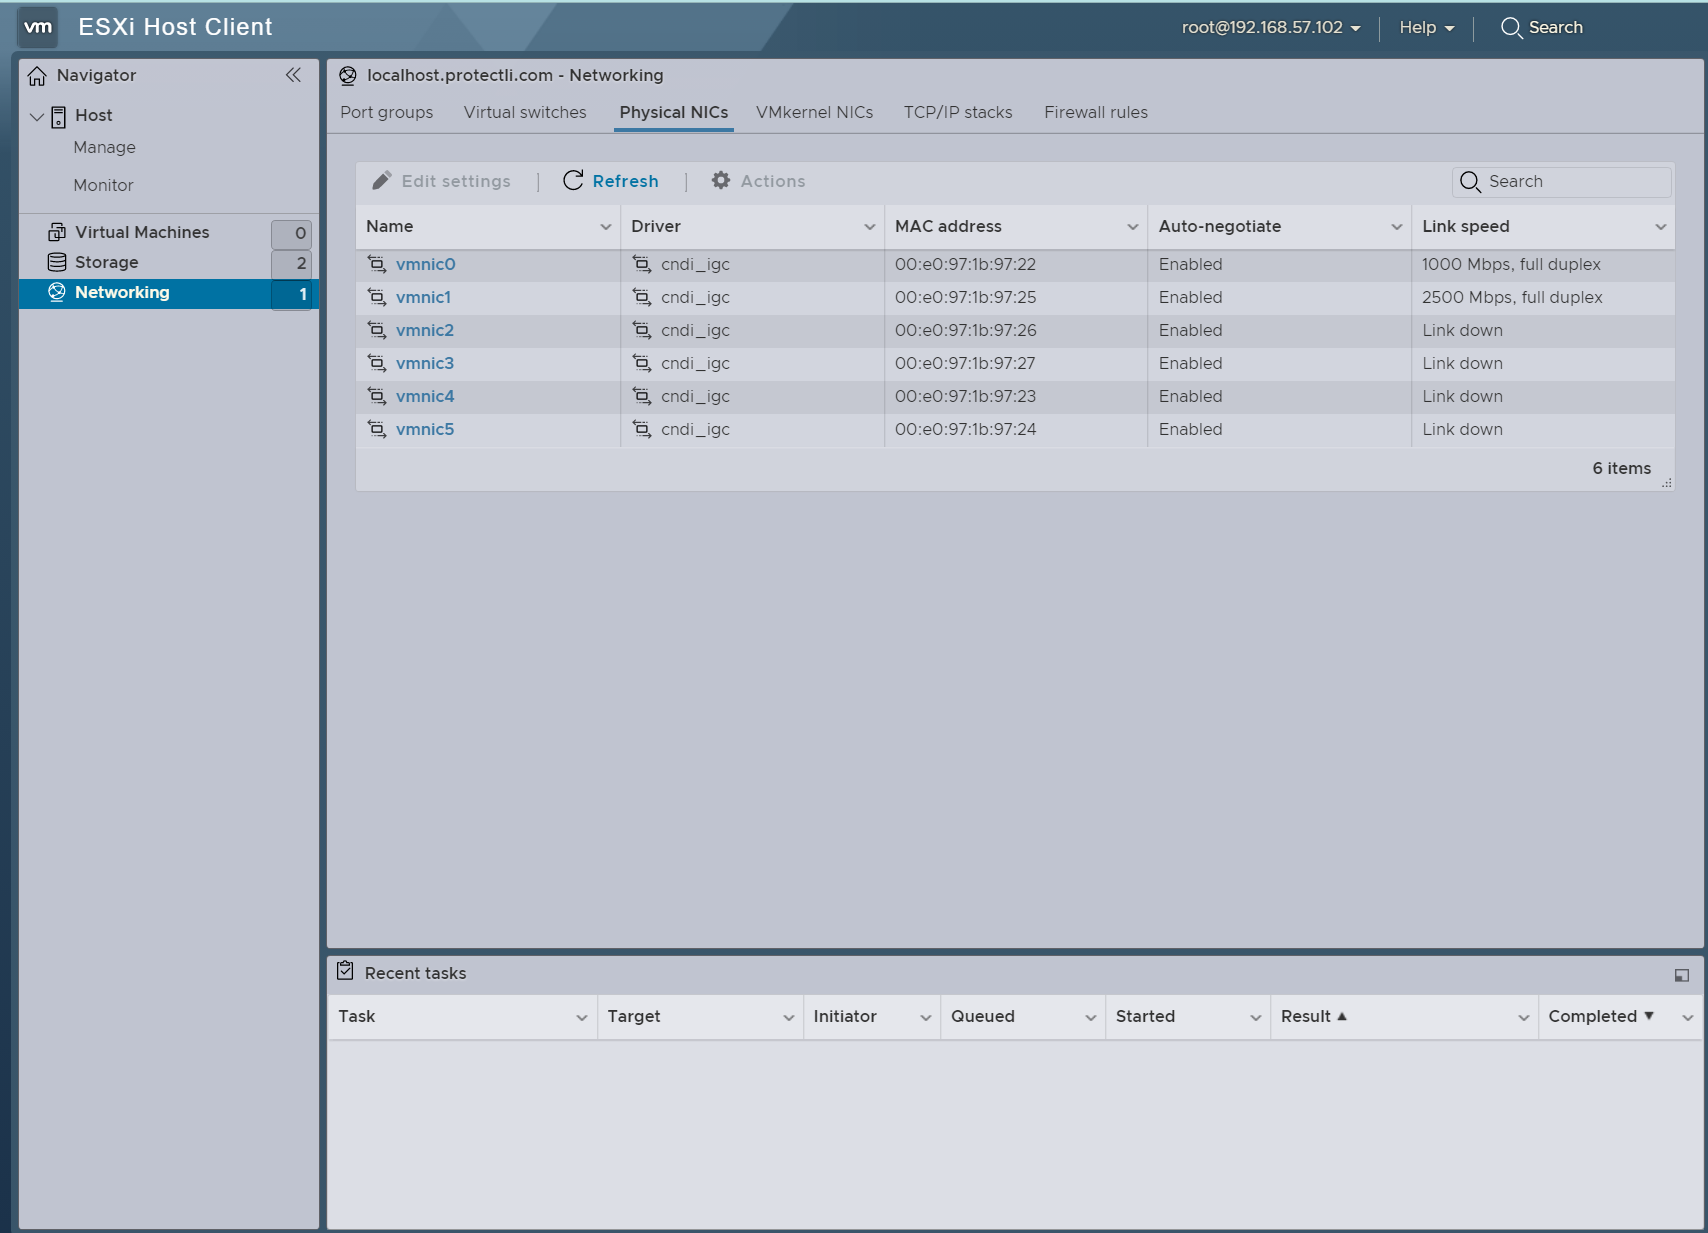
ESXi does not require advanced configurations to identify or leverage your hardware's theoretical speed.
The image below has one NIC connected to a 1G switch and the other to a 2.5G switch on a VP4630. As shown, ESXi will recognize the speed of all hardware and display it in the link speed section.
BIOS Compatibility
The table below shows the compatibility of tested releases of ESXi 8.0.0 on each of the Vaults.
Note: The compatibility test below relates to our current vaults listed on our Product Comparison page.
| Vault | ESXi Version | AMI BIOS - Legacy | AMI BIOS - UEFI | BIOS - coreboot |
|---|---|---|---|---|
| FW2B | 8.0 | N/A | N/A | N/A |
| FW4B | 8.0 | N/A | N/A | N/A |
| FW4C | 8.0 | N/A | N/A | N/A |
| FW6A | 8.0 | Tested | Tested | Tested |
| FW6Br2 | 8.0 | Tested | Tested | Tested |
| FW6C | 8.0 | Tested | Tested | Tested |
| FW6D | 8.0 | Tested | Tested | Tested |
| FW6E | 8.0 | Tested | Tested | Tested |
| VP2410 | 8.0 | Tested | Tested | Tested |
| VP2420 | 8.0 | N/A | Tested | Incompatible |
| VP4630 | 8.0 | N/A | Tested | Incompatible |
| VP4650 | 8.0 | N/A | Tested | Incompatible |
| VP4670 | 8.0 | N/A | Tested | Incompatible |
| VP66XX | 8.0.1 | N/A | Tested | TBD |
If you experience any hardware issues, please feel free to reach out to support@protectli.com.