Have a Question?
How to Enable PXE on the Vault
The following steps cover how to enable PXE boot on a Vault with AMI BIOS
- Attach a USB Keyboard and monitor to the Vault, or serial connection via COM port
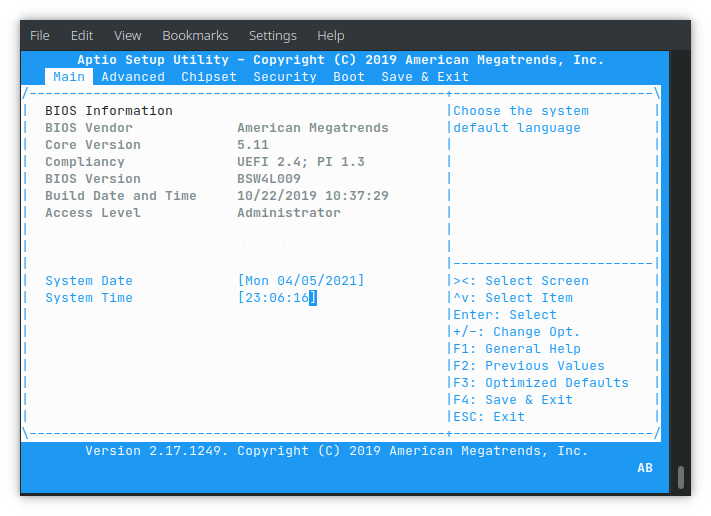
- Power on the unit and press
Deleteuntil you see the BIOS setup screen
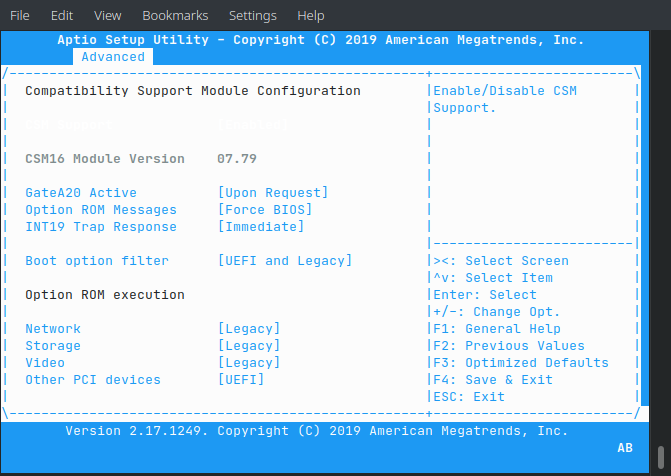
- Use the arrow keys to select the "
Advanced" tab

- Use the arrow keys to scroll to "
CSM Configuration" and pressEnterto select it.
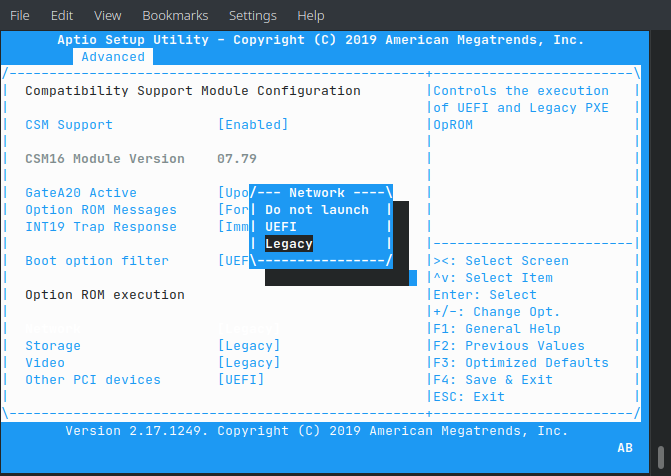
- Use the arrow keys to select "
Network" and pressEnterto select it. - On the resulting menu, use the arrow keys to select "
Legacy" and pressEnterto confirm
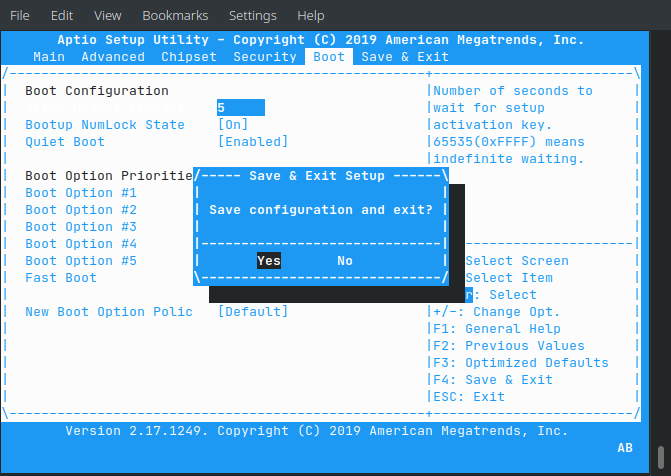
- Press
F4toSave & Exit. When prompted to save the configuration and exit, selectYes.
At this point you should see PXE capable network interfaces available in the boot menu. However, If you experience any issues, please feel free to reach out to us at support@protectli.com.