Have a Question?
How to Configure a WiFi module in OPNsense
How to Configure a WiFi module in OPNsense
This article covers configuring the Protectli WiFi Kit in Access Point Mode for OPNsense. This includes interface assignment, interface configuration, a DHCP server, and firewall rule.
Prerequisites
- Protectli Vault with WiFi Kit installed
- OPNsense is installed. Version 20.7 was used for this article
Add Device and Assign Interface
This section will cover adding the wireless device and assigning it an interface.
- Verify the Vault is powered on and OPNsense is up and running
- Access the OPNsense web interface.
- Default web address is 192.168.1.1
- Default login credentials
- Username: root
- Password: opnsense
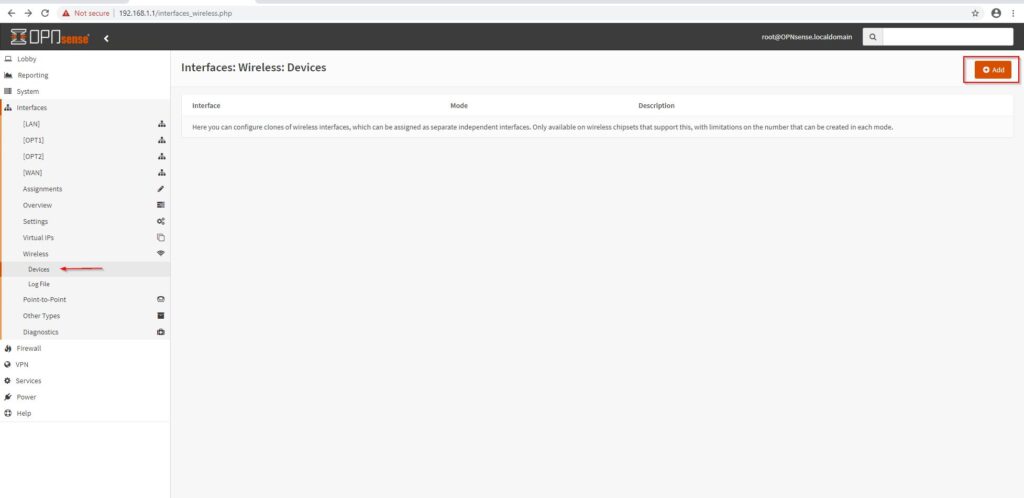
- From the OPNsense web interface dashboard, select Interfaces on the left column
- Under the interfaces column, select Wireless, then Devices
- In the Devices menu, select Add in the top right corner
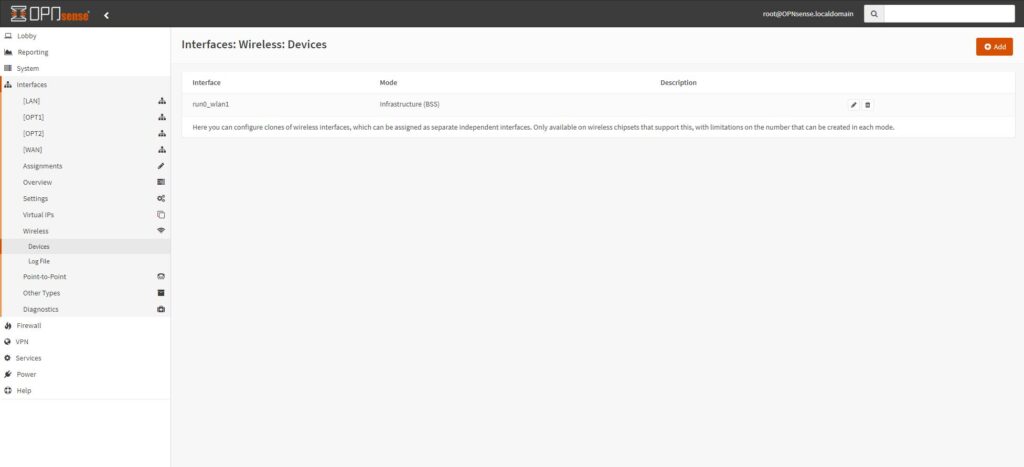
- Select run0() as the Parent interface and save
- The interface run0_wlan1 should be displayed as seen below
- Back to the Interfaces menu, select Assignments
- run0_wlan1 should be available as a New interface. select the "+" button to assign it and save
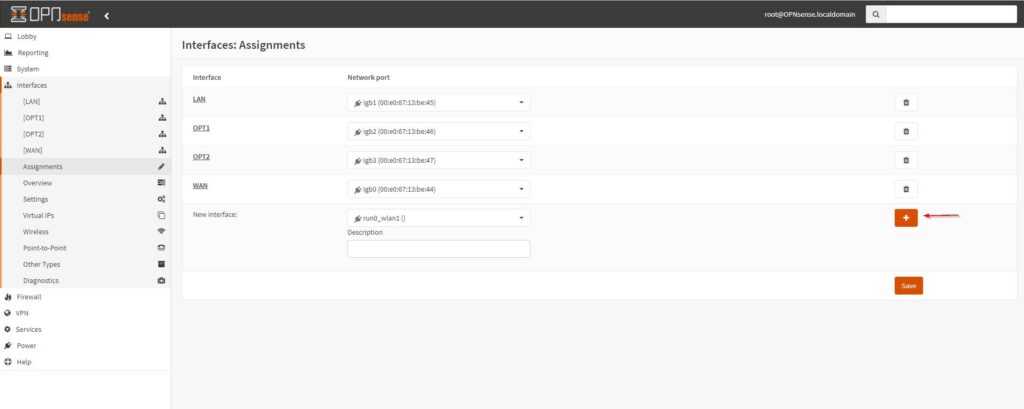
- Once the interface is assigned, select the interface the wireless device is assigned to. In this example it would show up as OPT3
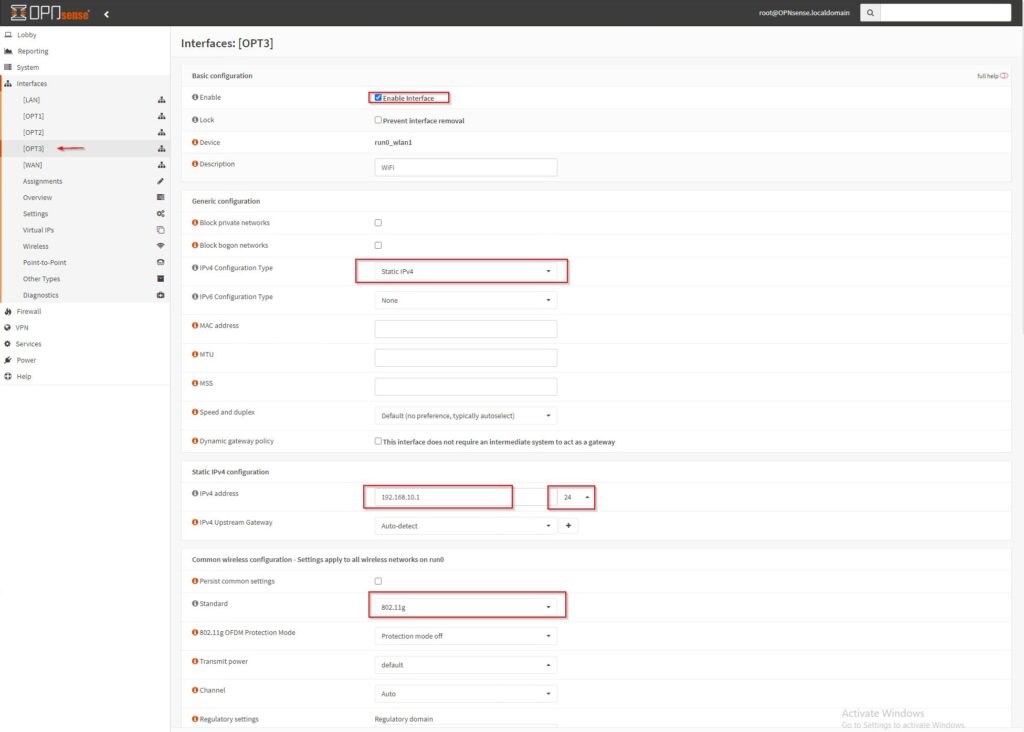
- You should now be in the interface configuration menu. Check Enable Interface to display additional options
- Select Static IPv4 as IPV4 Configuration Type
- Under Static IPV4 configuration, assign an IP address of your choice. We used 192.168.10.1 with a subnet mask of 24 for this example
- Under common wireless configuration, select the wireless standard you wish to utilize. Our WiFi kits have B/G available in OPNsense. We will be using G in this example.
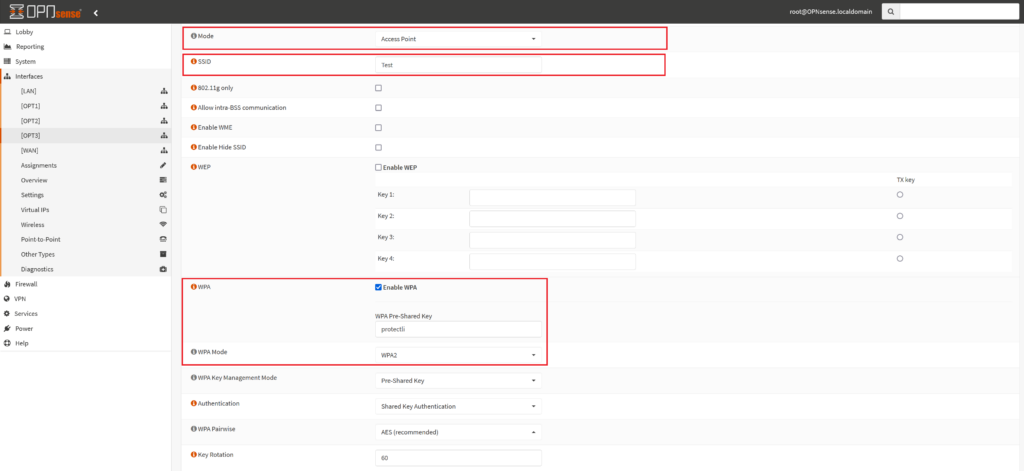
- Interface Configuration 1
- For Mode select Access Point
- Enter the SSID of your choice
- Under WPA check Enable
- Enter a secure password in the WPA Pre-Shared Key field
- For WPA mode, we recommend selecting WPA2
- Change "Authentication" to Shared Key Authentication
- "WPA Pairwise" should be changed to the recommended AES
- Select Save at the bottom, then Apply Changes at the top right
Configuring DHCP and Firewall Rule
Now WiFi should be up and running, but we need to conveniently hand out IP address and allow access outside the firewall to the internet!
- To configure a DHCP server, select Services>DHCPv4>(WiFi interface) from the left column menu
- Check Enable, and fill in the Range. You can use the Available range as a guide, but select a "from" address above the default gateway. See example below
- Select Save

- Now that DHCP is configured and IP addresses can be handed out, its time to move on to the firewall rule
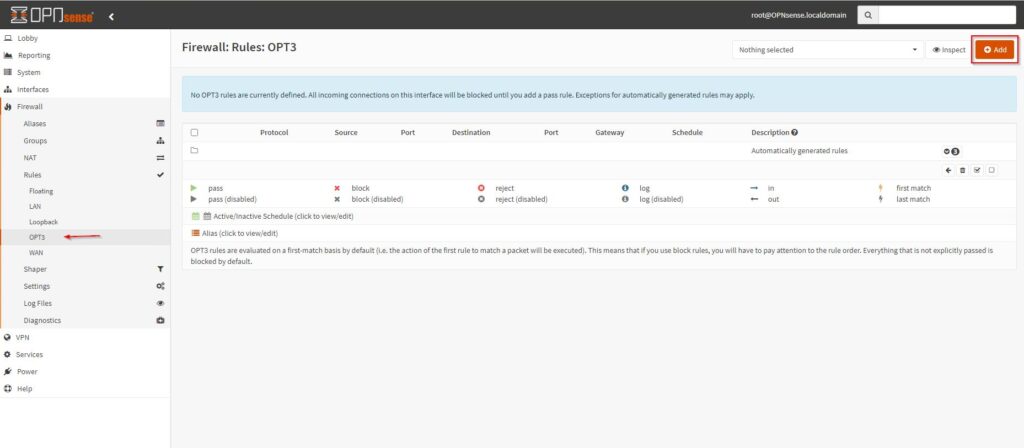
- Select Firewall from the left column menu, then Rules>(WiFi Interface)
- Select Add on the top right
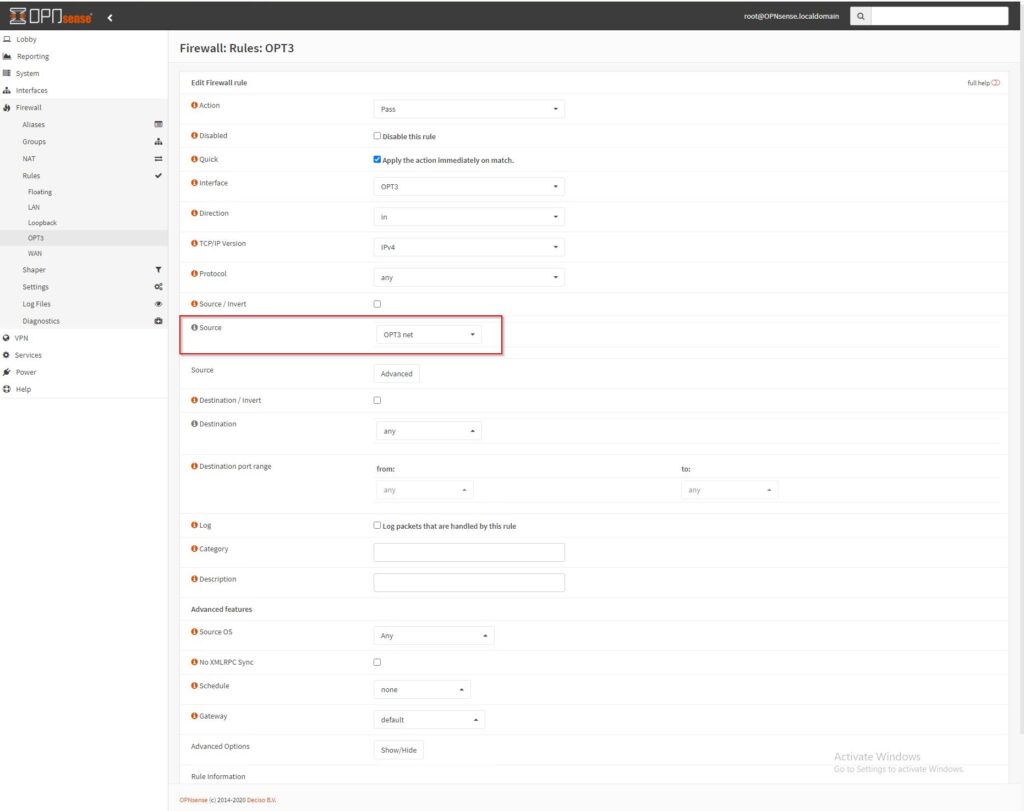
- Verify the follow are configured for this rule (See example below)
- Action: Pass
- Interface: (WiFi Interface)
- Direction: In
- TCP/IP Version: IPv4
- Protocol: Any
- Source: (WiFi Interface) Net
- Destination: Any
- Select Save, then Apply Changes on the top right
At this point you should be able to connect to the SSID, obtain an IP address, and access the internet. If you have any trouble or additional questions feel free to reach out either by opening a ticket here https://protectli.com/submit-ticket/ or send us an email here support@protectli.com