Have a Question?
coreboot on the Vault Pro
Beginning with release v1.0.15 of coreboot for the VP2410, a Netbooting feature has been added to the BIOS. This feature allows the user to iPXE boot the Vault over the network to a default Protectli site, or to specify a site. For example, one could boot to the netboot.xyz server which hosts multiple Operating Systems (OS) at https://boot.netboot.xyz. See example below. Note that using a specific site to boot an OS is supported by Protectli, but the actual OS that is loaded is not supported by Protectli, as is the case with all OS. In order to use the Network Boot feature:
- Verify the Vault is connected to the Internet via Ethernet port 1
- When the splash screen is displayed, press the F11 key
- Verify the Boot Menu is displayed
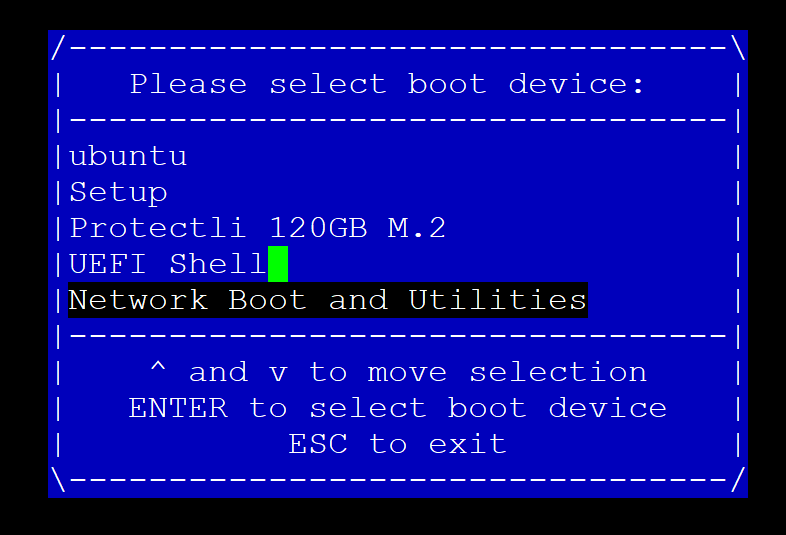
- Select "Network Boot and Utilities"
- Verify the "Network Boot and Utilities" page is displayed
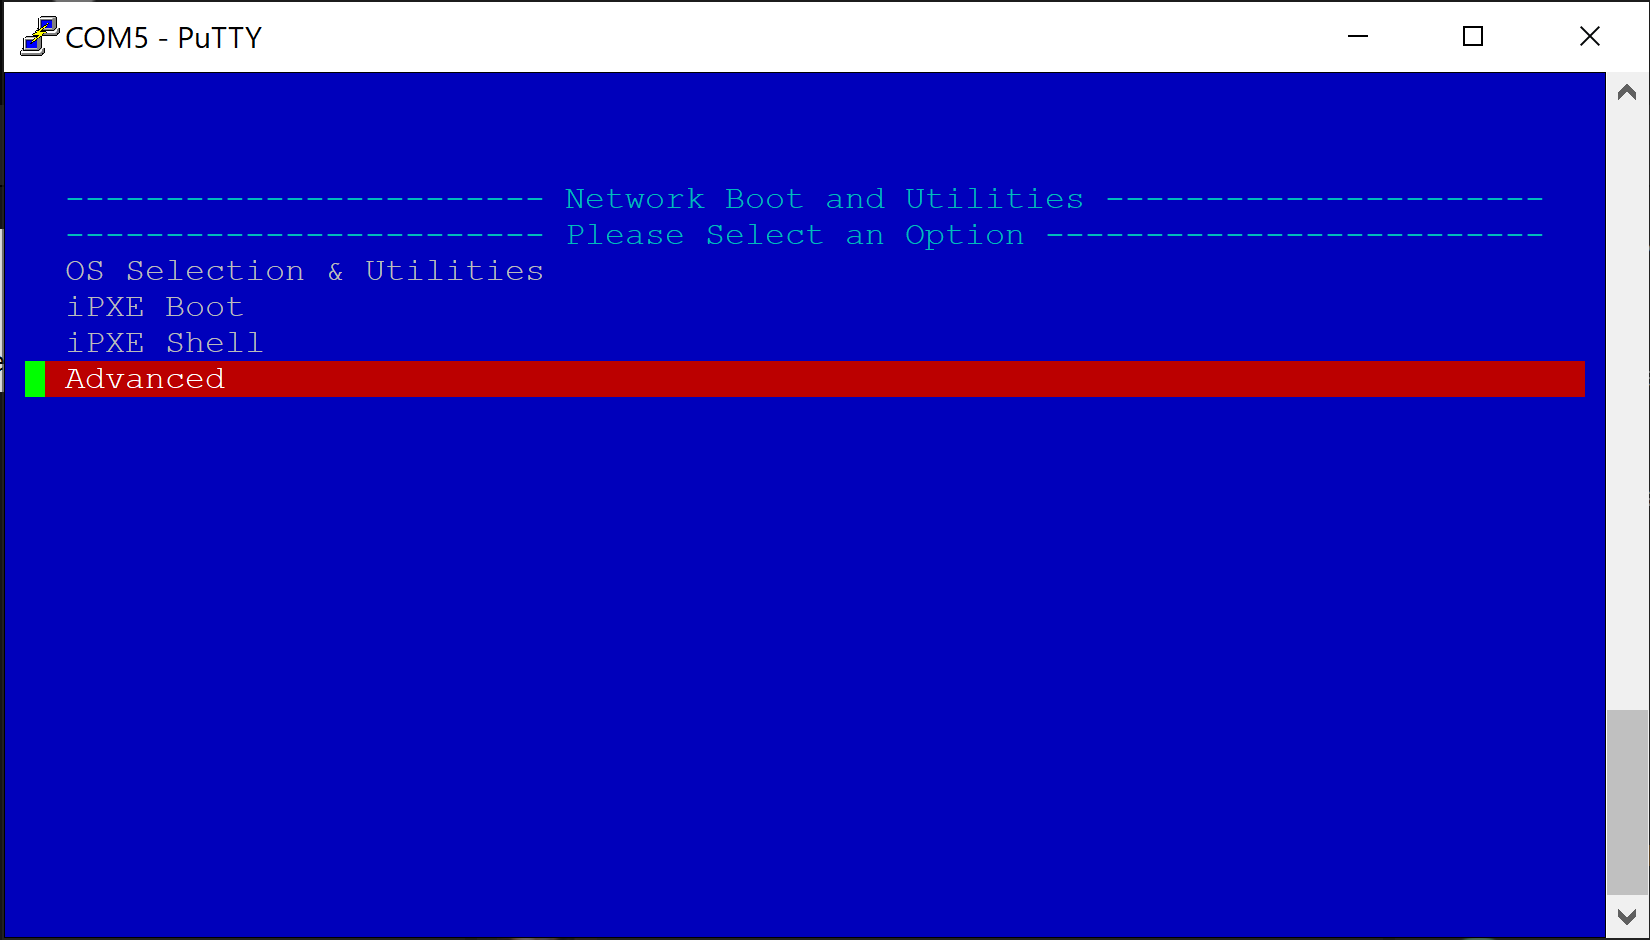
If nothing is selected, the system will count down a few seconds and automatically netboot to the default Protectli Network Boot and Utilities page at: https://netboot.protectli.com/menu.ipxe In order to specify a site:
- Select "Advanced"
- Verify the "Change Netboot Payload" page is displayed
- Enter the desired URL (Example: https://boot.netboot.xyz)
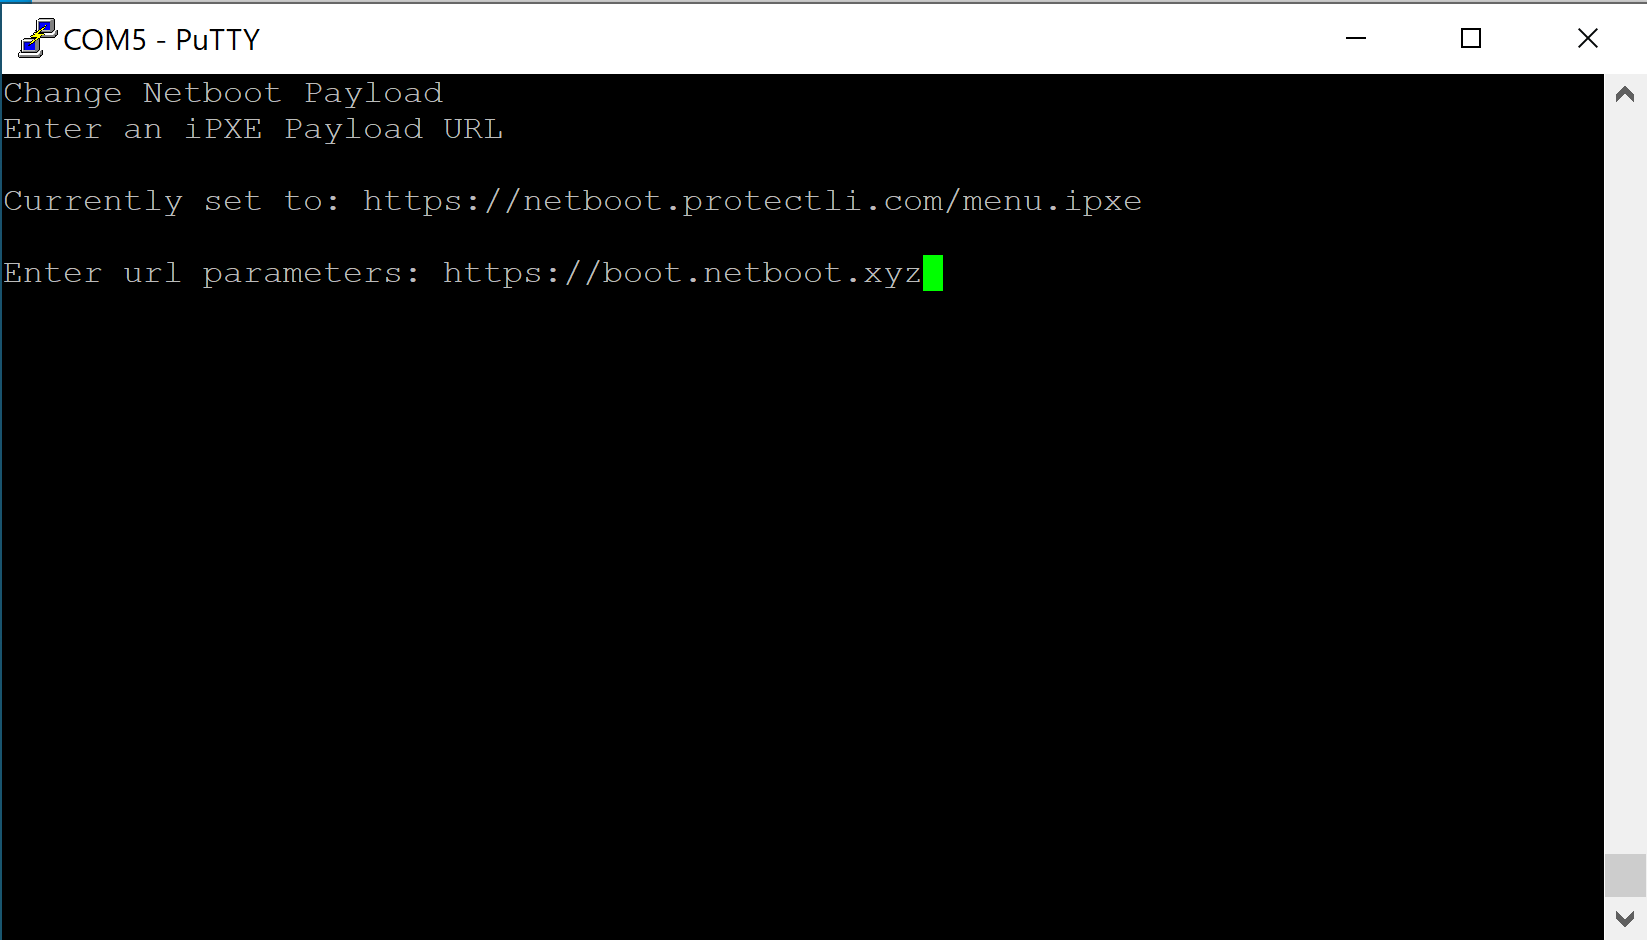
- Hit "Enter"
- Verify the Vault returns to the "Network Boot and Utilities" page
- Select "Apply and Exit"

- Verify the Vault begins the iPXE boot process
- Verify the Vault boots to the netboot.xyz Main Menu
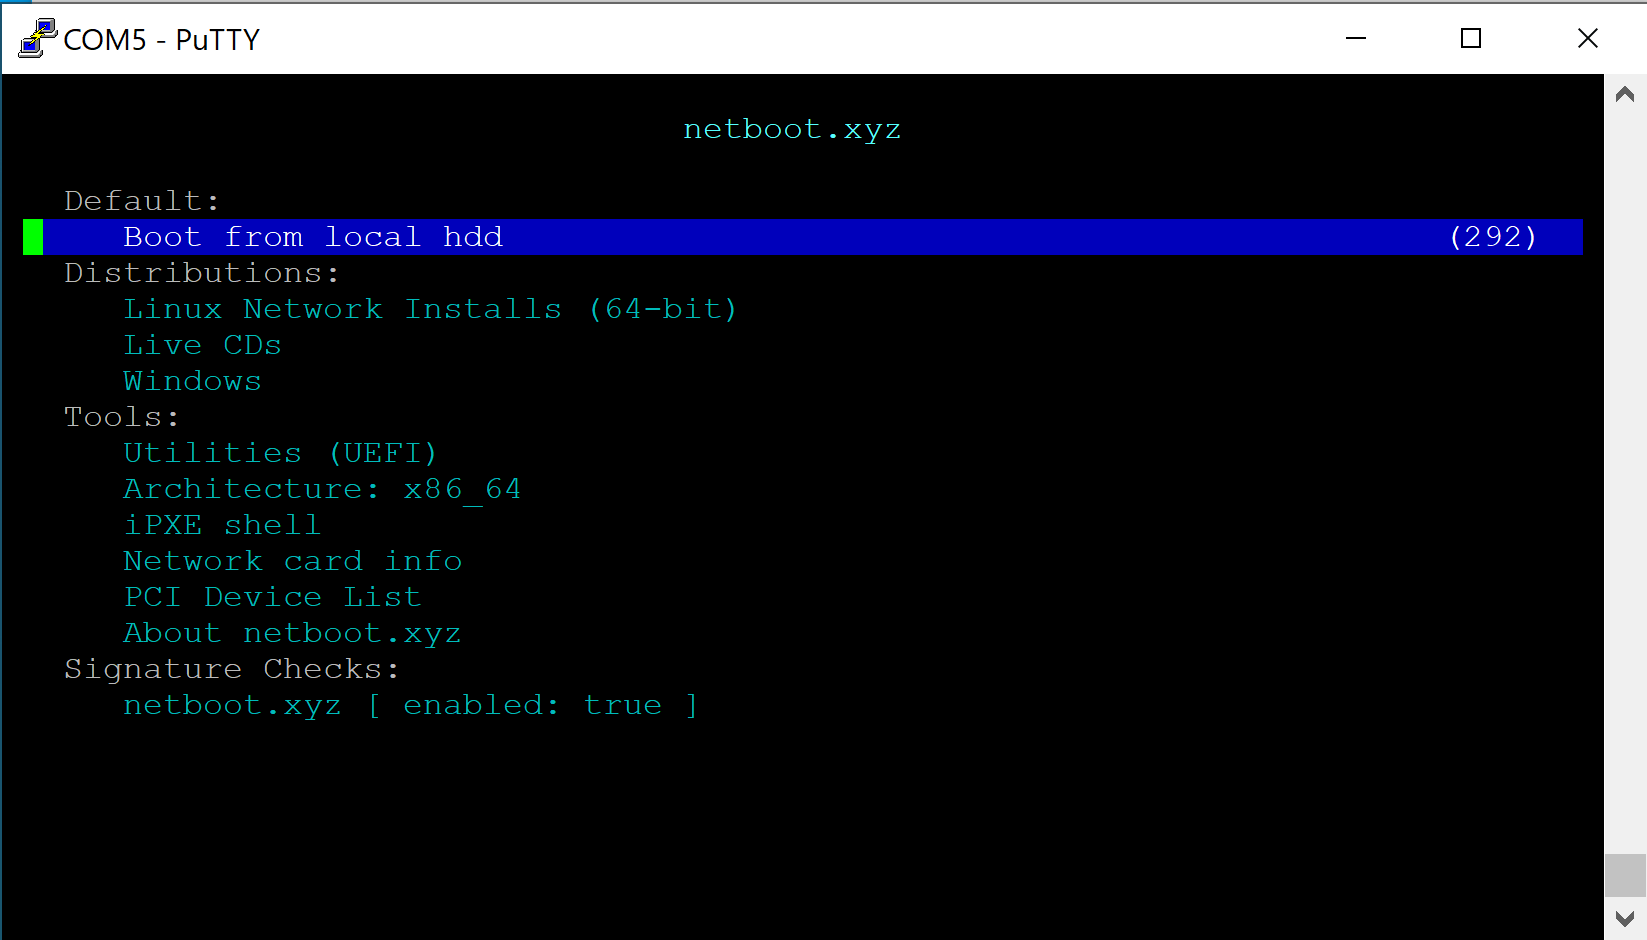
- For this example, select "Linux Network Installs (64-bit)
- Verify the "Linux Installers" page is displayed
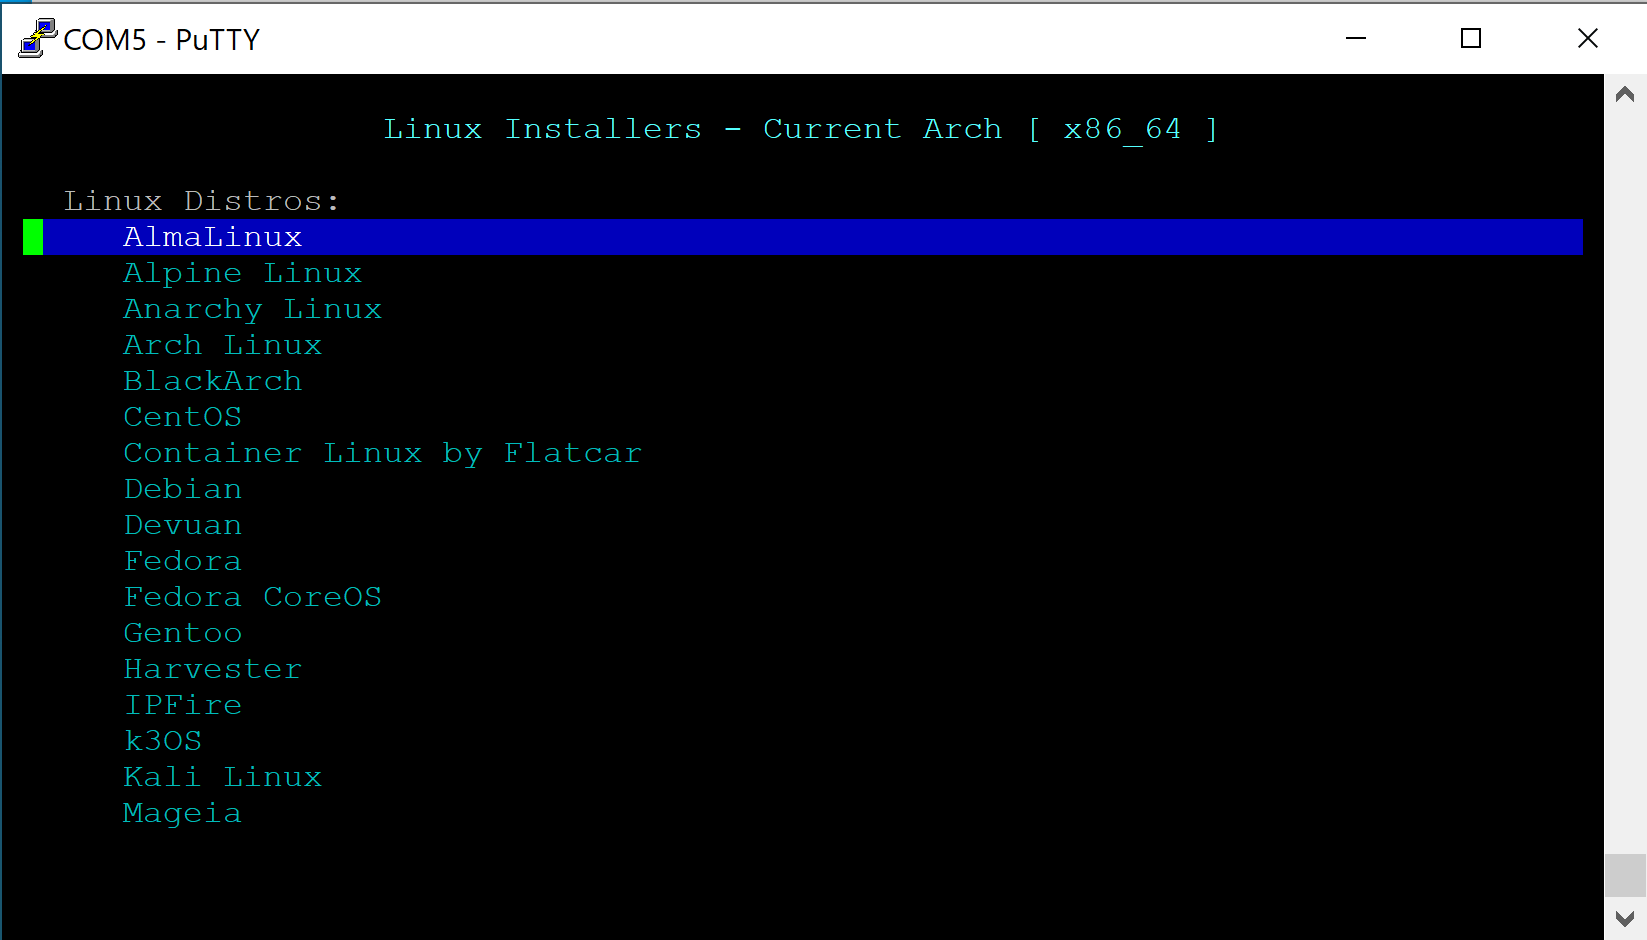
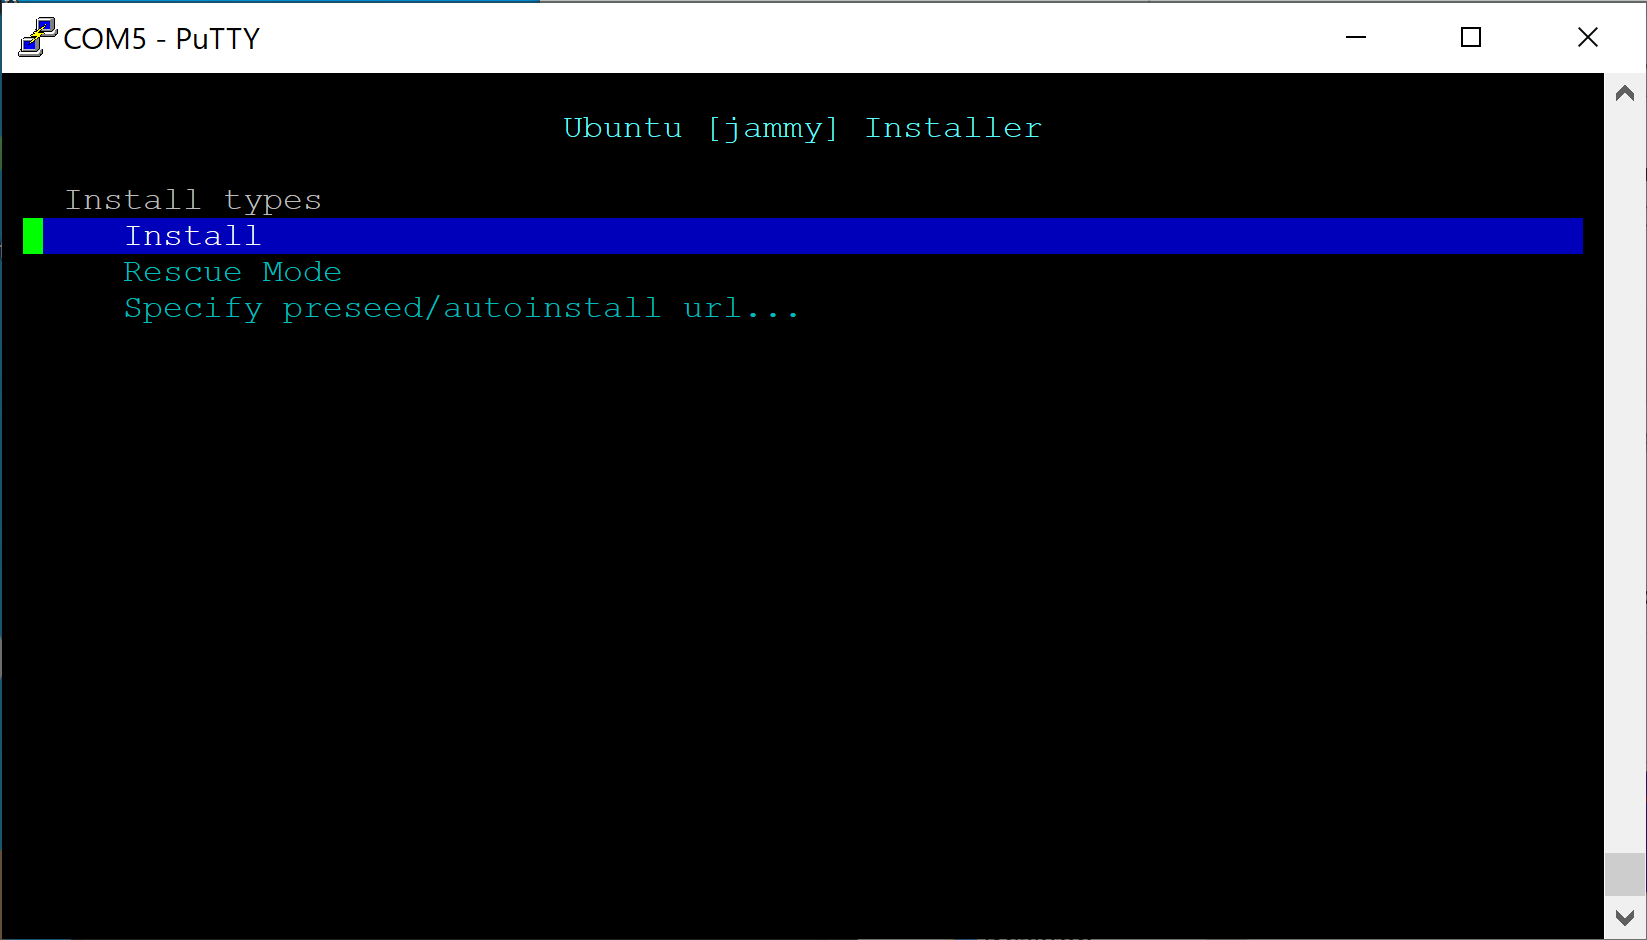
- Select the desired OS (In this example we use Ubuntu)
- Verify Netbooting starts
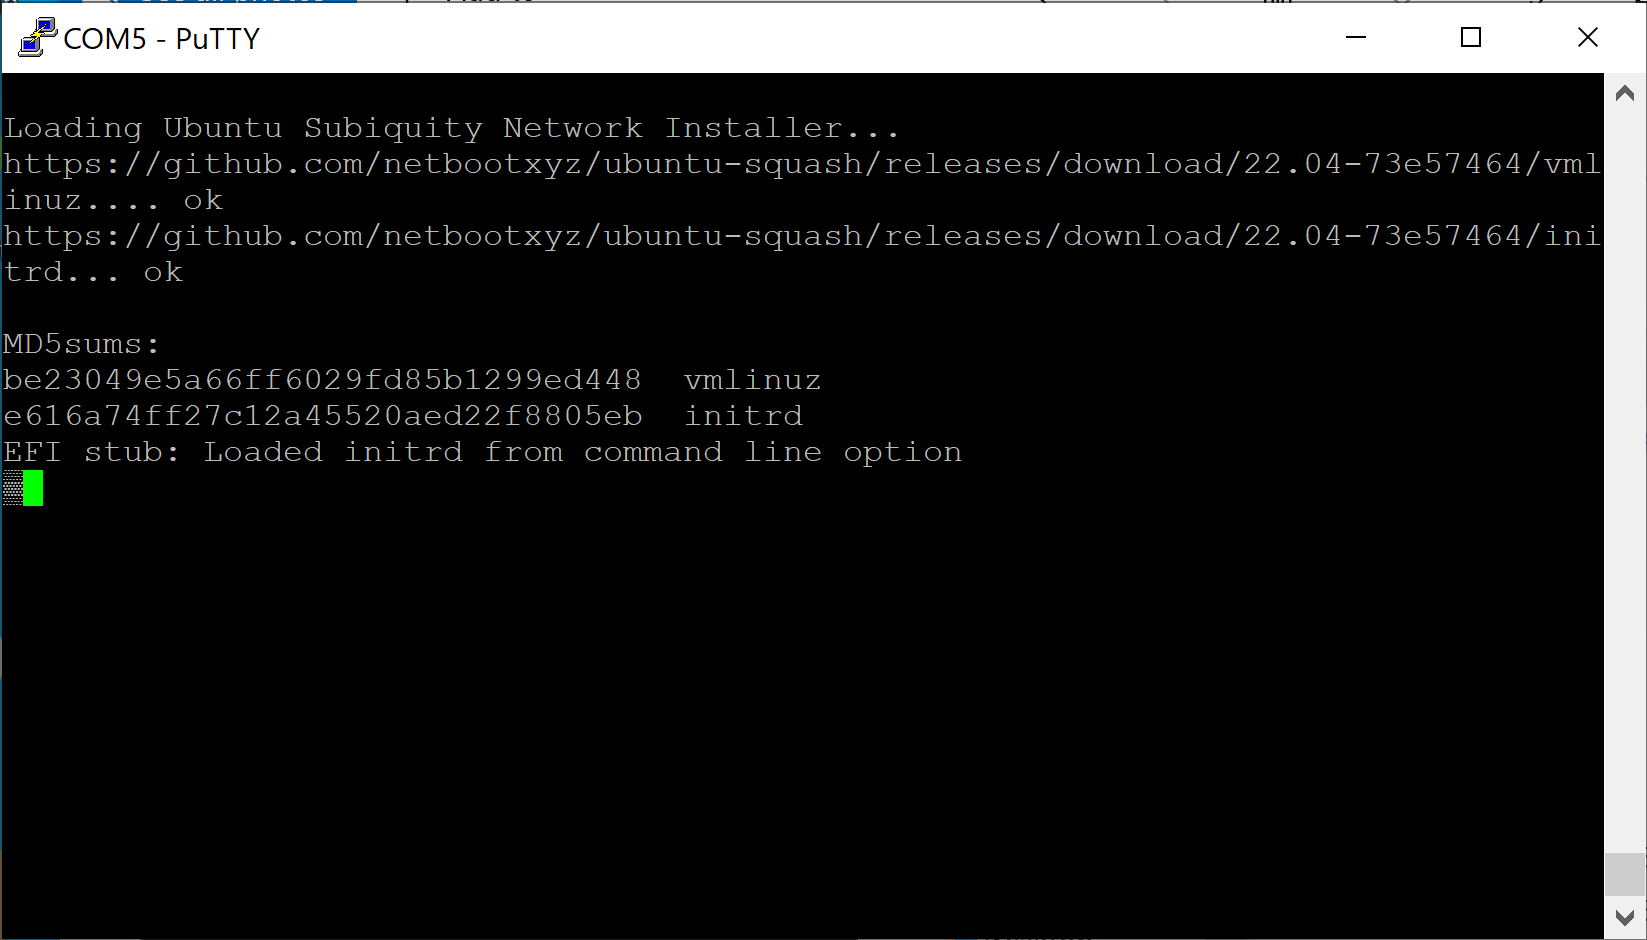
- Follow the OS instructions to install and configure the Vault as desired
Note that if a specified URL such as https://boot.netboot.xyz is selected, it will not be saved across reboots. It will need to be manually entered if the Vault is rebooted.
In order to "get into" the BIOS, boot the system
- When the splash screen is displayed, press the DEL key
- Verify the Main Menu is displayed
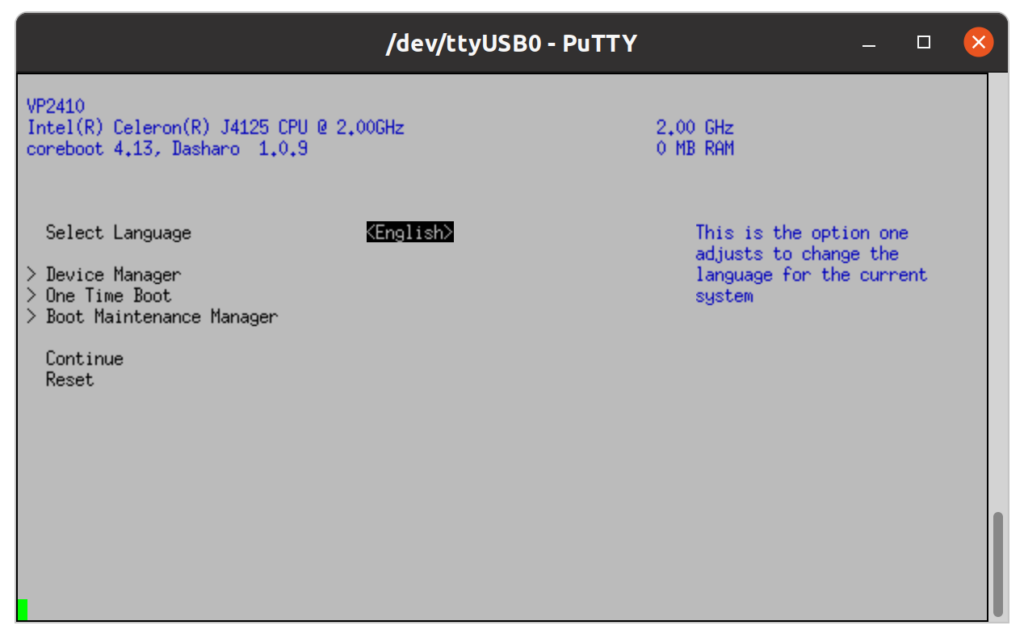 Note: "0 MB RAM" is a only a visual bug. The operating system will see the RAM actually installed in the system.
- Select "One Time Boot"
- Verify the "One Time Boot" menu is displayed
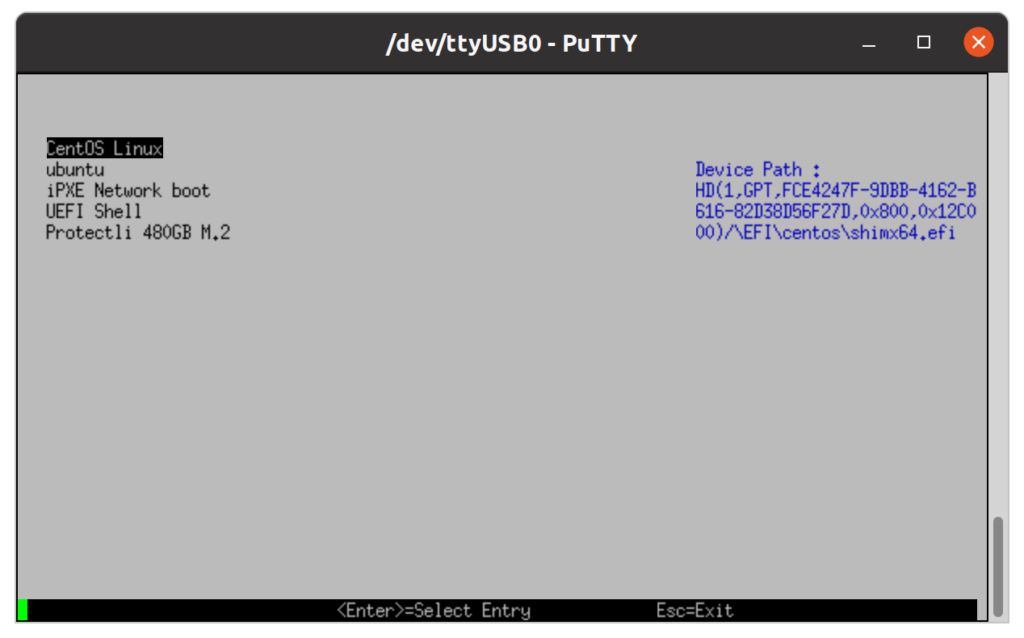 In this example, there are several boot options. The options that are displayed demonstrate how the BIOS handles different boot options. The "CentOS Linux" and "ubuntu" options are shown because previously, CentOS Linux was installed on the internal M.2 SATA drive and Ubuntu was installed on a 2.5" SATA drive that was connected to the internal connectors. These are the labels mentioned above that were automatically created during installation. The 2.5" SATA drive has been removed before booting so, the "ubuntu" label remains, but there is no entry for the physical drive. The "Protectli 480GB M.2" entry is for the physical drive that has CentOS Linux installed on it. Similarly, the USB drive that was used to install Ubuntu and CentOS Linux was removed, so it is not displayed in the list. There is eMMC on the unit, but since there is no OS installed with a bootable partition, it is not displayed in the list. In order to boot from this menu, just select the desired option and hit ENTER.
Another option to select from the Main Menu is the "Boot Maintenance Manager".
- Select "Boot Maintenance Manager"
- Verify the "Boot Maintenance Manager" menu is displayed
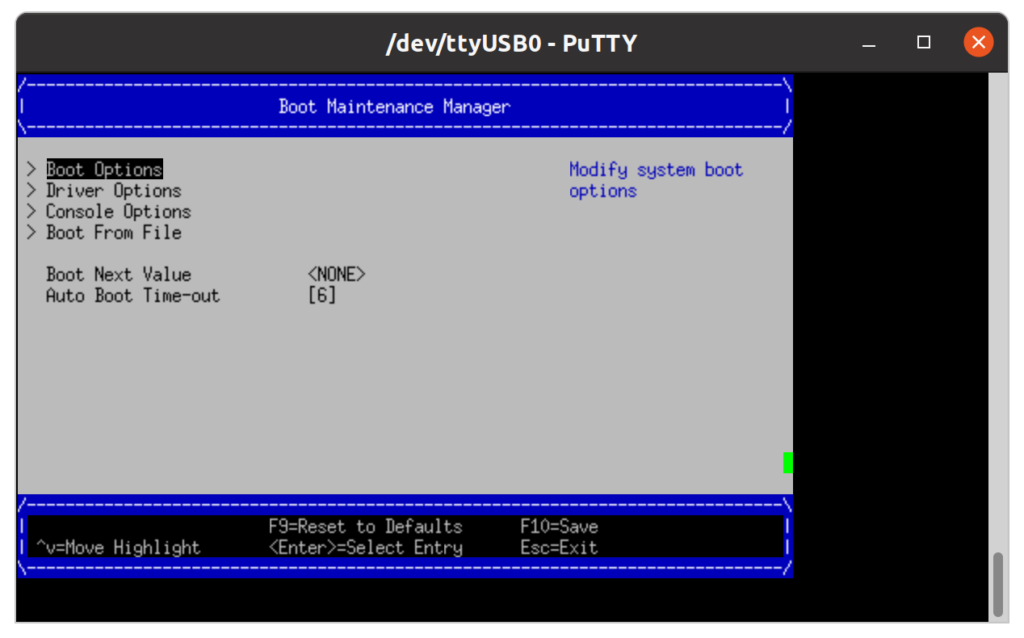 Note that the "Boot Maintenance Manager" and all the subsequent pages have keystroke instructions at the bottom of the page. Follow the on screen instructions to select the desired configuration.
- The "Driver and Console Options" are typically not used.
- The "Auto Boot Timeout" sets the amount of time that the splash screen is displayed during the boot process.
- The "Boot From File" option allows booting directly from a file, which are the source files for the labels mentioned above.
- Select the "Boot From File" option
- Verify the "Boot From File" menu is displayed
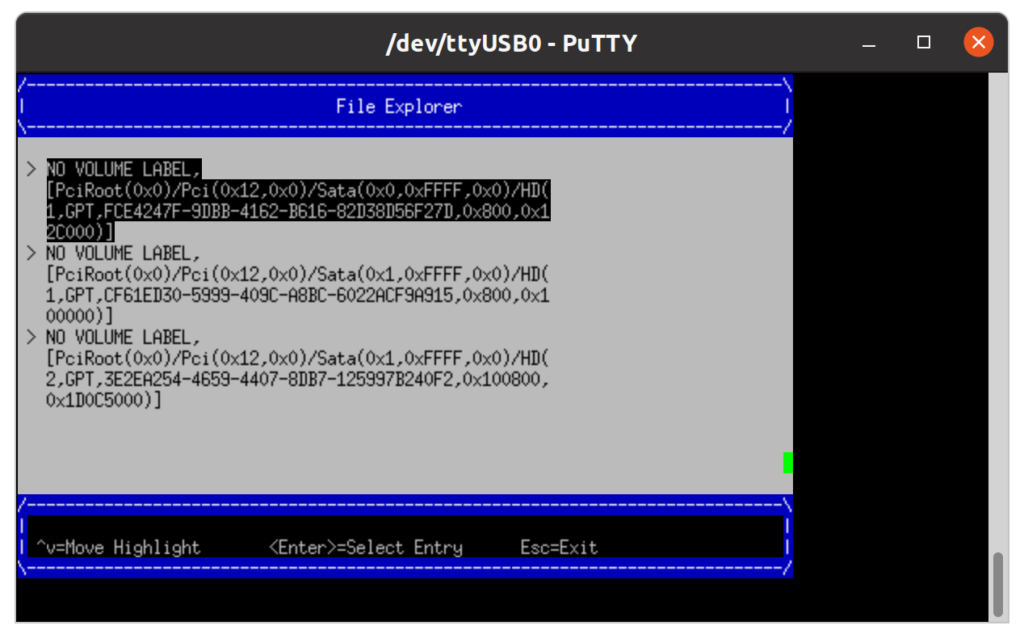 This allows one to select a file and then navigate through the filesystem to find the bootable file. This typically requires knowledge of the OS filesystem to identify the correct file. The "Boot Next Value" sets the boot source for the next time the system boots, one time only, and overrides the default setting.
- Select "Boot Next Value"
- Verify the "Boot Next Value" menu is displayed
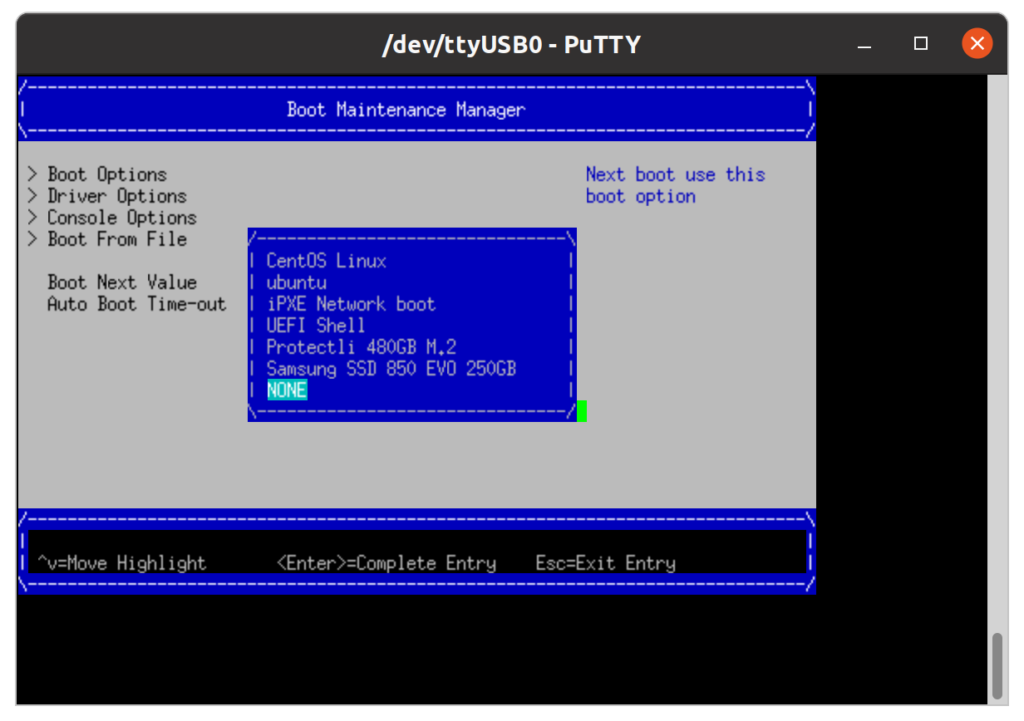
- Set "Boot Next Value" as desired
The "Boot Options" menu allows the user to Add, Delete, and Change Boot Options
- Select "Boot Options"
- Verify the "Boot Options" menu is displayed
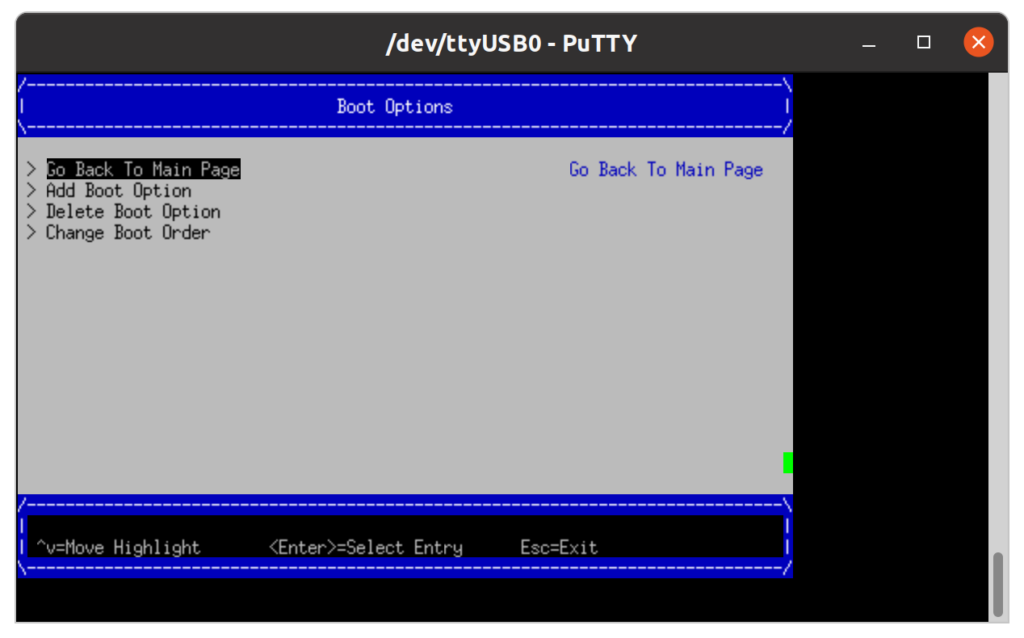 The "Add Boot Option" can add a boot option to the list. The "Delete Boot Option" allows the user to manually remove boot options from the list.
- Select "Delete Boot Option"
- Verify the "Delete Boot Option" menu is displayed
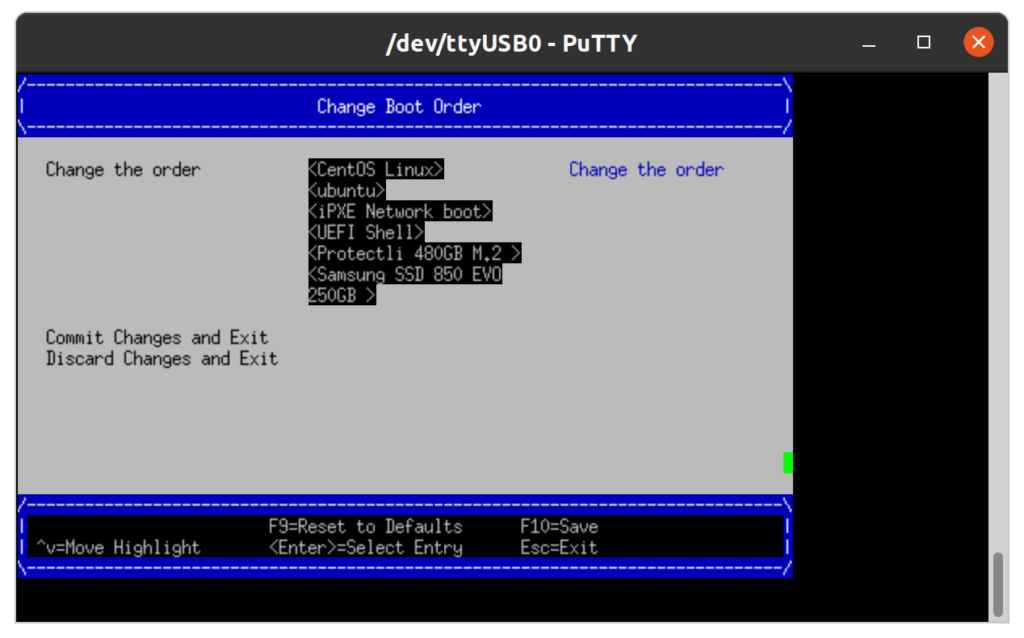
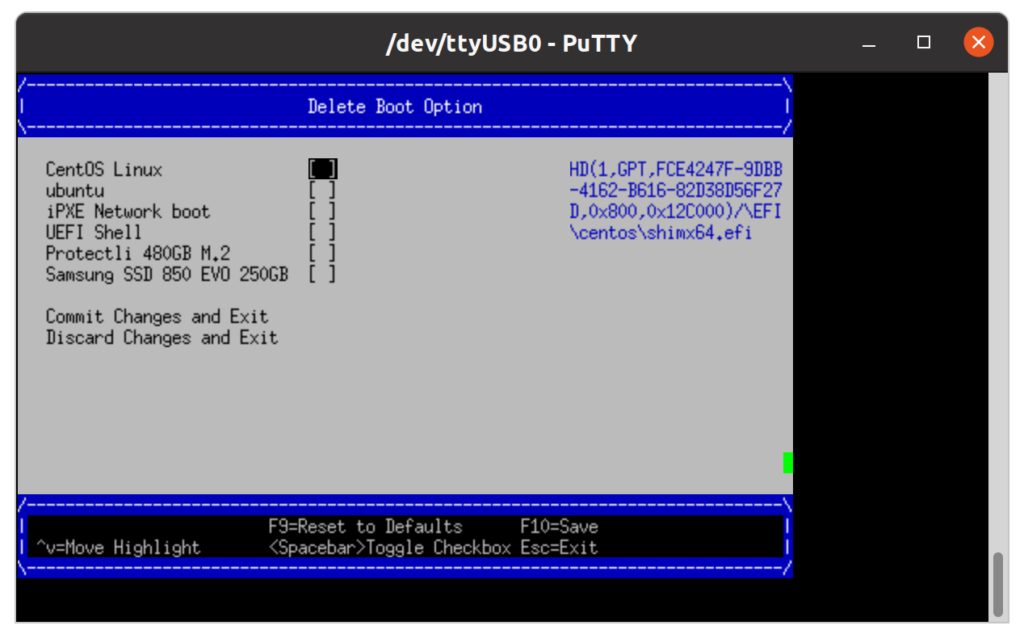 Follow the on screen instructions to Delete a Boot Option The "Change Boot Order" page allows the user to edit the boot order.
- Select "Change Boot Option"
- Verify the "Change Boot Option" menu is displayed
 Select "ENTER"
- Verify the sub menu is displayed and one of the options is highlighted
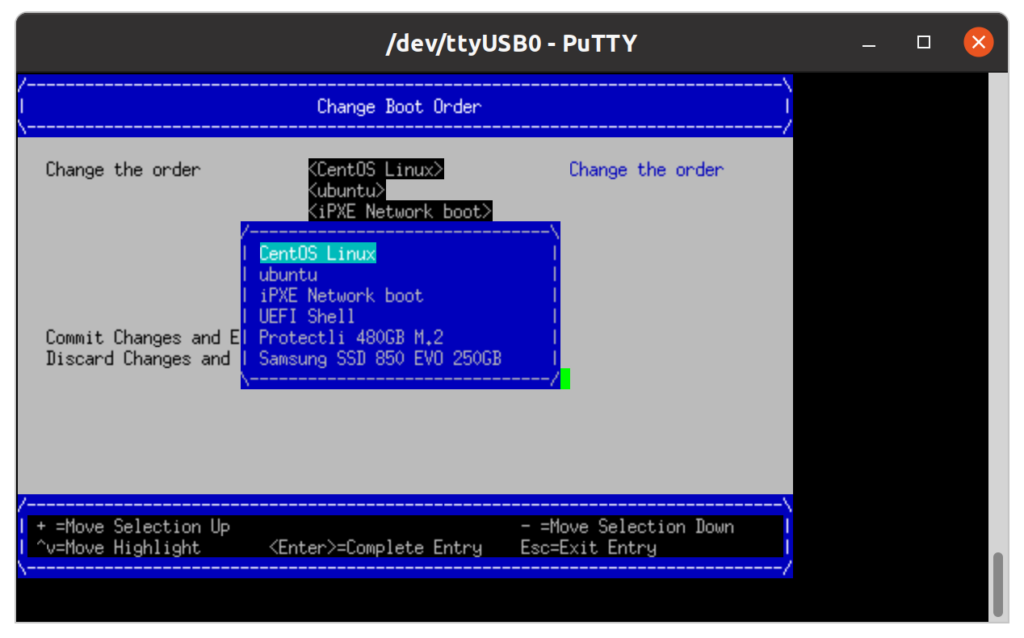
- Follow the on screen instructions to Change the Boot Order
- Verify different options can be moved up and down the list with the "+" and "-" keys