Have a Question?
XenServer installation on FW6 Series
Citrix XenServer is a hypervisor for deploying multiple virtual machines on capable hardware. Citrix XenServer is available in both free, open source versions and licensed, supported versions. The history of the Xen project can be found at this link. The free or "Standard" Citrix XenServer version 7.2.0 has been successfully installed on the FW6 series of the Vault along with Citrix XenCenter which is a Windows based application to manage XenServer instances. More information regarding Citrix XenServer can be found at this link.
XenServer installation guide and system requirements can be found at this link. Our test installation used 8 GB of RAM and 128G of mSATA storage.
To install a fresh instance of XenServer onto the Vault, there is a relatively straight forward process that is very similar to installing any operating system onto any computer.
- Obtain the installation image
- Download software to transfer the installation image to a USB drive
- Install the new image
There are a few steps along the way that I'll highlight so as to make sure that the process is very clear.
Obtain the Installation Image
The Citrix XenServer installation image can be downloaded from this link.
Scroll down and select "Base Installation ISO" from the XenServer main page.
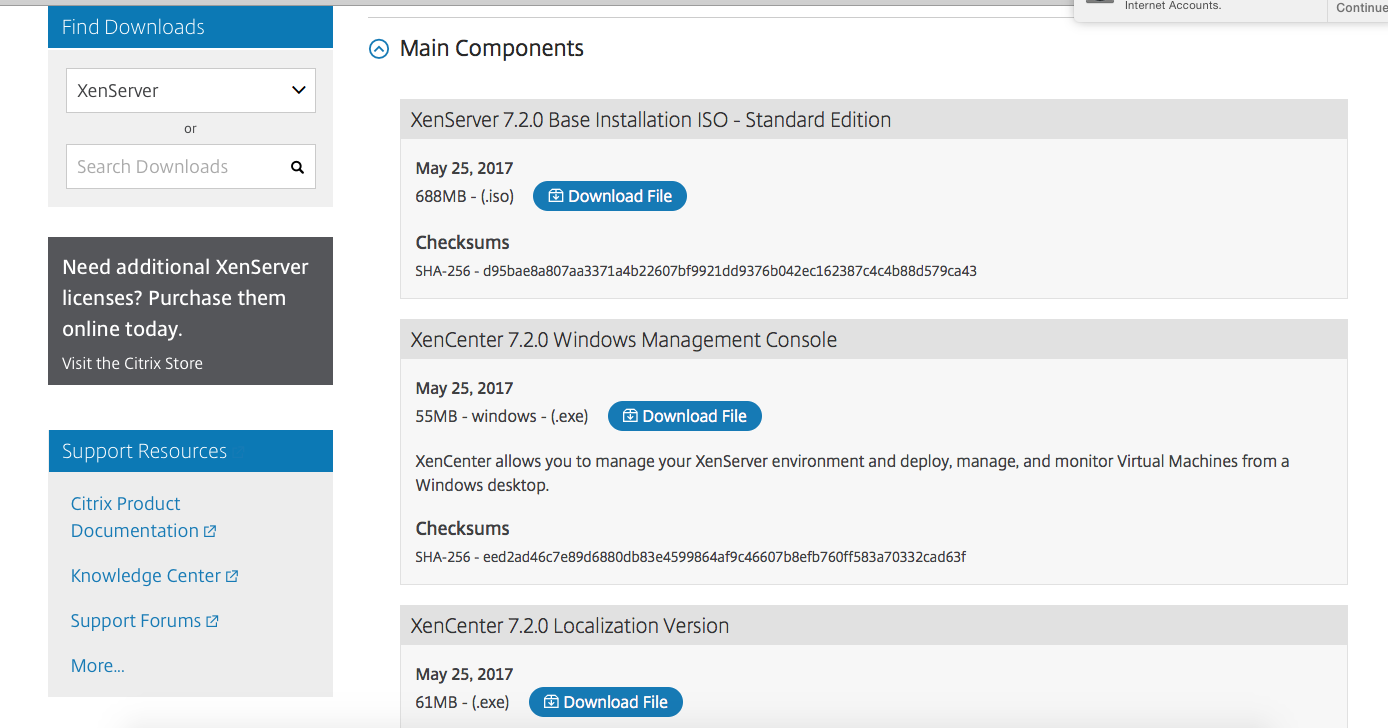
The download should begin immediately and when it is completed you should have an ISO file (an example file name is: XenServer-7.2.0-install-cd.iso) downloaded that is ~750MB in size.
Download software to transfer the installation image to a USB drive
There are multiple applications to transfer the installation image to a USB drive. Protectli recommends "Rufus" for Windows and "balenaEtcher" for the Mac. See this link for detailed instructions on how to create a bootable USB drive using Rufus or balenaEtcher.
Install the new image
Once the XenServer installation image is properly copied to the USB drive, it is ready to be installed on the Vault.
- Verify that the Vault is powered down.
- Verify that the VGA monitor or serial console is connected.
- Verify that an ethernet cable is plugged into the "WAN" port and is connected to a DHCP enabled switch.
- Verify that the USB keyboard is plugged in.
- Insert the USB install drive into the another USB port on the Vault.
- While powering up the Vault, press "F11" key and hold it down until it boots to the BIOS and you see the boot options screen.
- Select the USB drive to boot from.
- Verify that the installation begins.
- Select the Keymap.
- Accept the EULA.
- Select "Perform Clean Installation".
- Select sda drive.
- Select local media for installation.
- Skip media verification.
- Select and Confirm root password.
- Select "eth0" for connectivity during install.
- Recommend automatic configuration (DHCP).
- Select "Manually Specify Hostname" and enter the name or accept the default.
- Select "Automatically set DNS".
- Select the Time Zone.
- Select NTP for local time.
- Continue the installation and verify it completes.
- Reboot the Vault and select XenServer from the boot menu.
- Verify the Vault boots and the Xenserver configuration page is displayed.
- Note the IP address displayed for XenServer
At this point XenServer is running on the Vault.
A Windows management application called XenCenter can be installed on a Windows machine to manage instances of XenServer.
Download XenCenter 7.2.0 Windows Management Console from the same page as the 7.2 ISO.
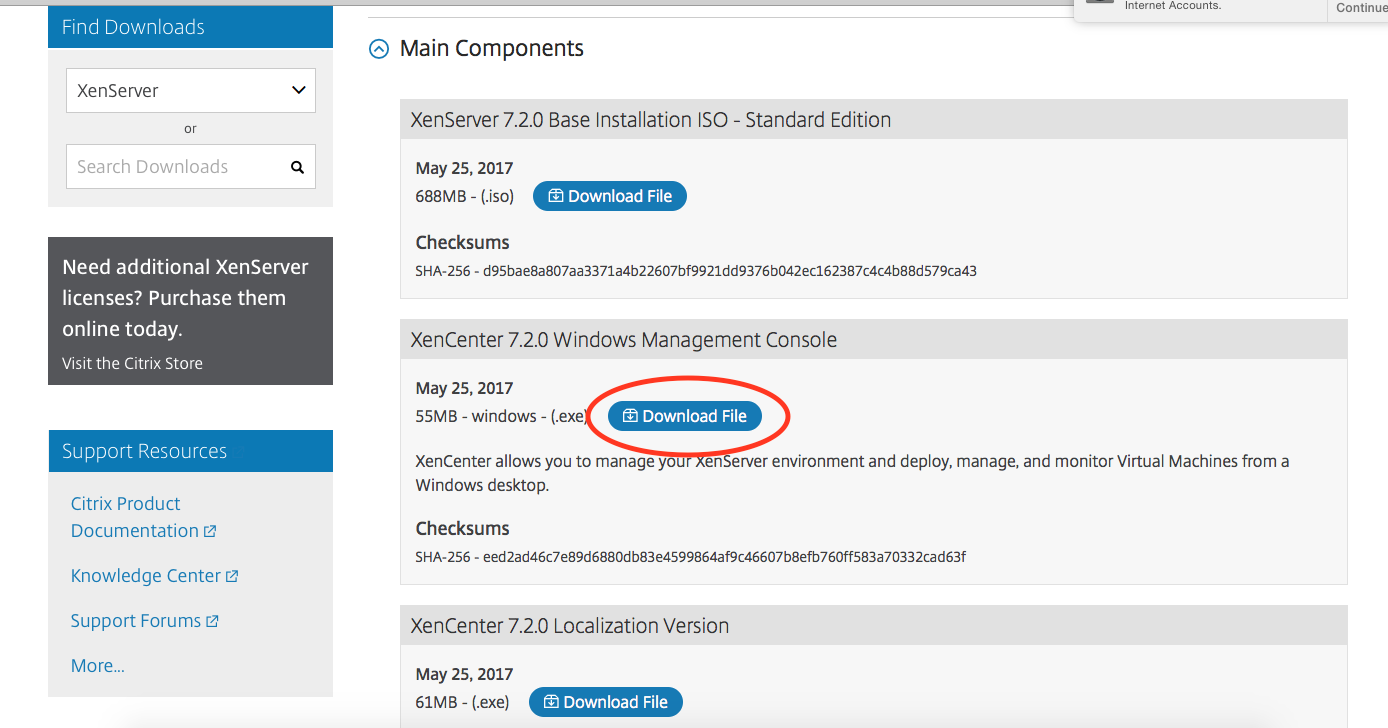
- Download the application (XenCenter.exe) to a Windows machine.
- Install the application by following the prompts.
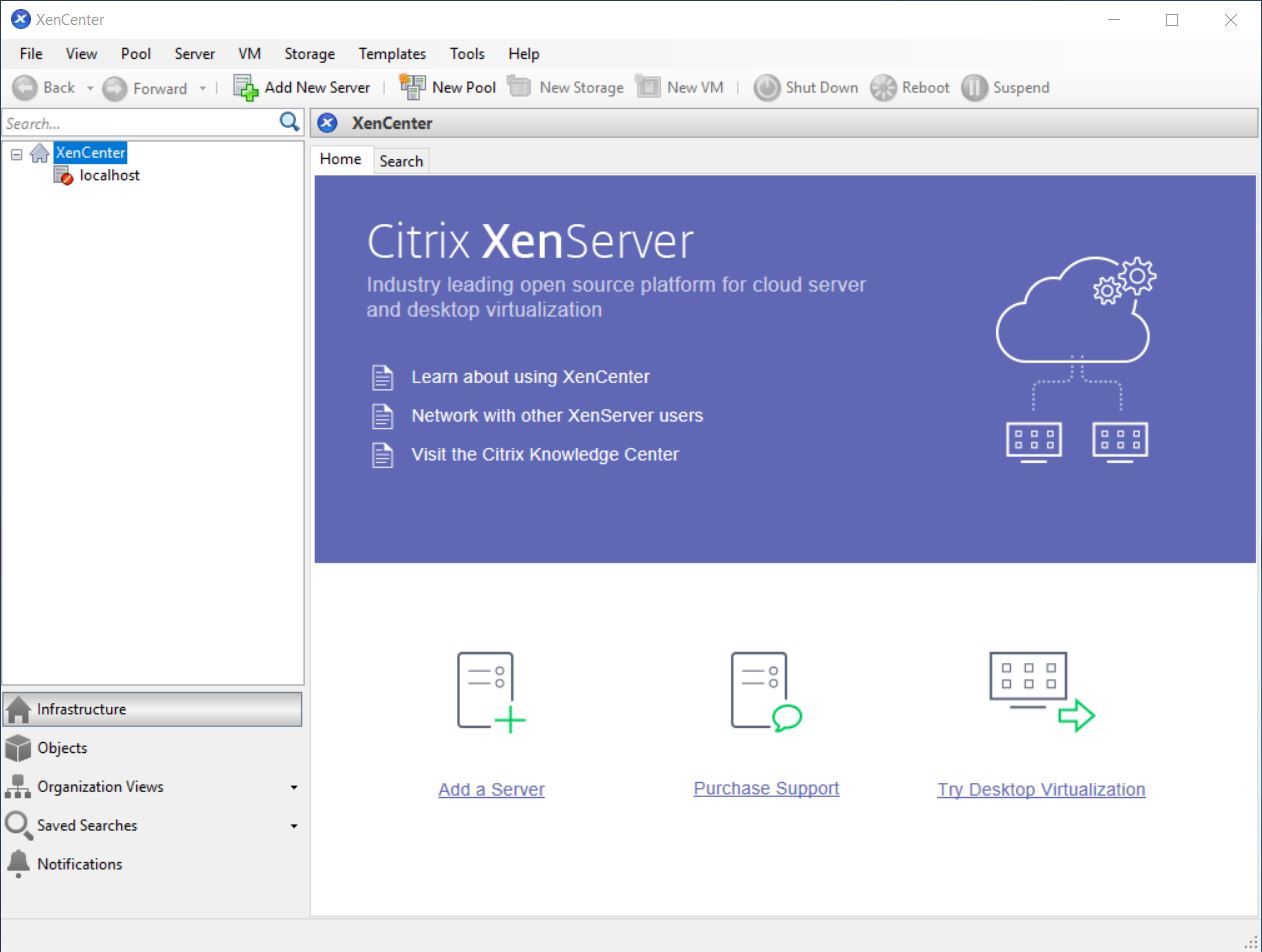
- Enable the application and verify that it comes up.
- At the main prompt, select "Add a Server".
Add Server
- When prompted, enter the name or IP address and the credentials of the new server. The password is the one that was entered during the installation process for the server.
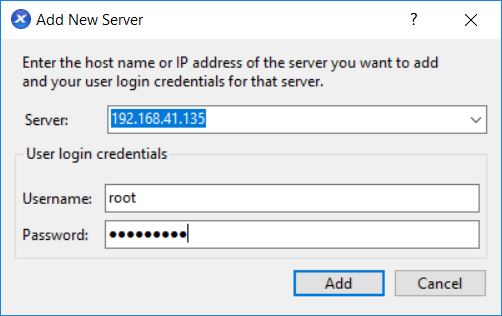
New Server Info
- Verify XenCenter continues and the new server is displayed
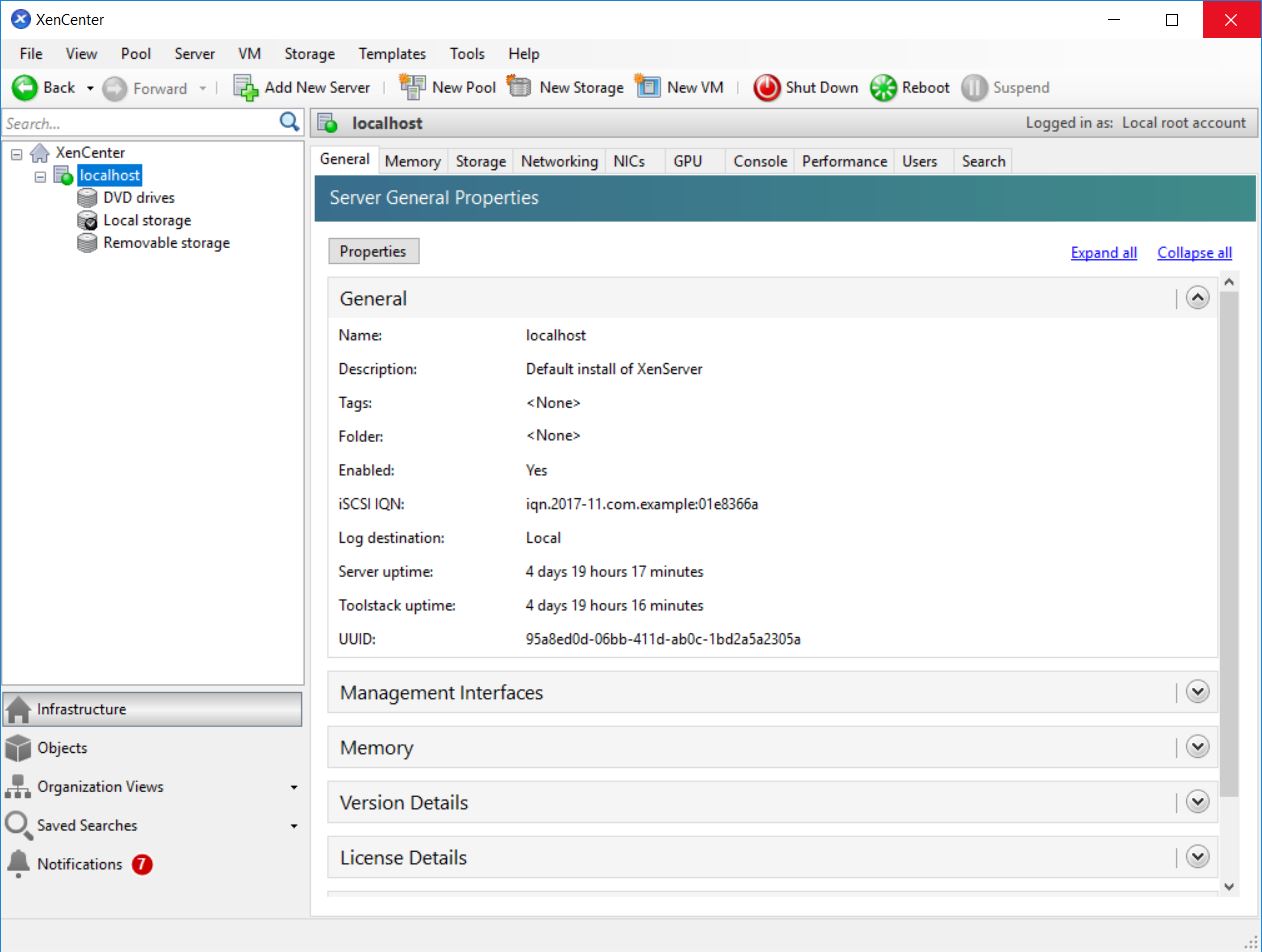
XenCenter Console
Documentation and more information for XenServer and XenCenter can be found on the documentation page at this link.
XenServer should be up and running. If you experience any issues, please feel free to reach out to us at support@protectli.com, or find more information in our Knowledge Base.