Have a Question?
How to Install VyOS on the Vault
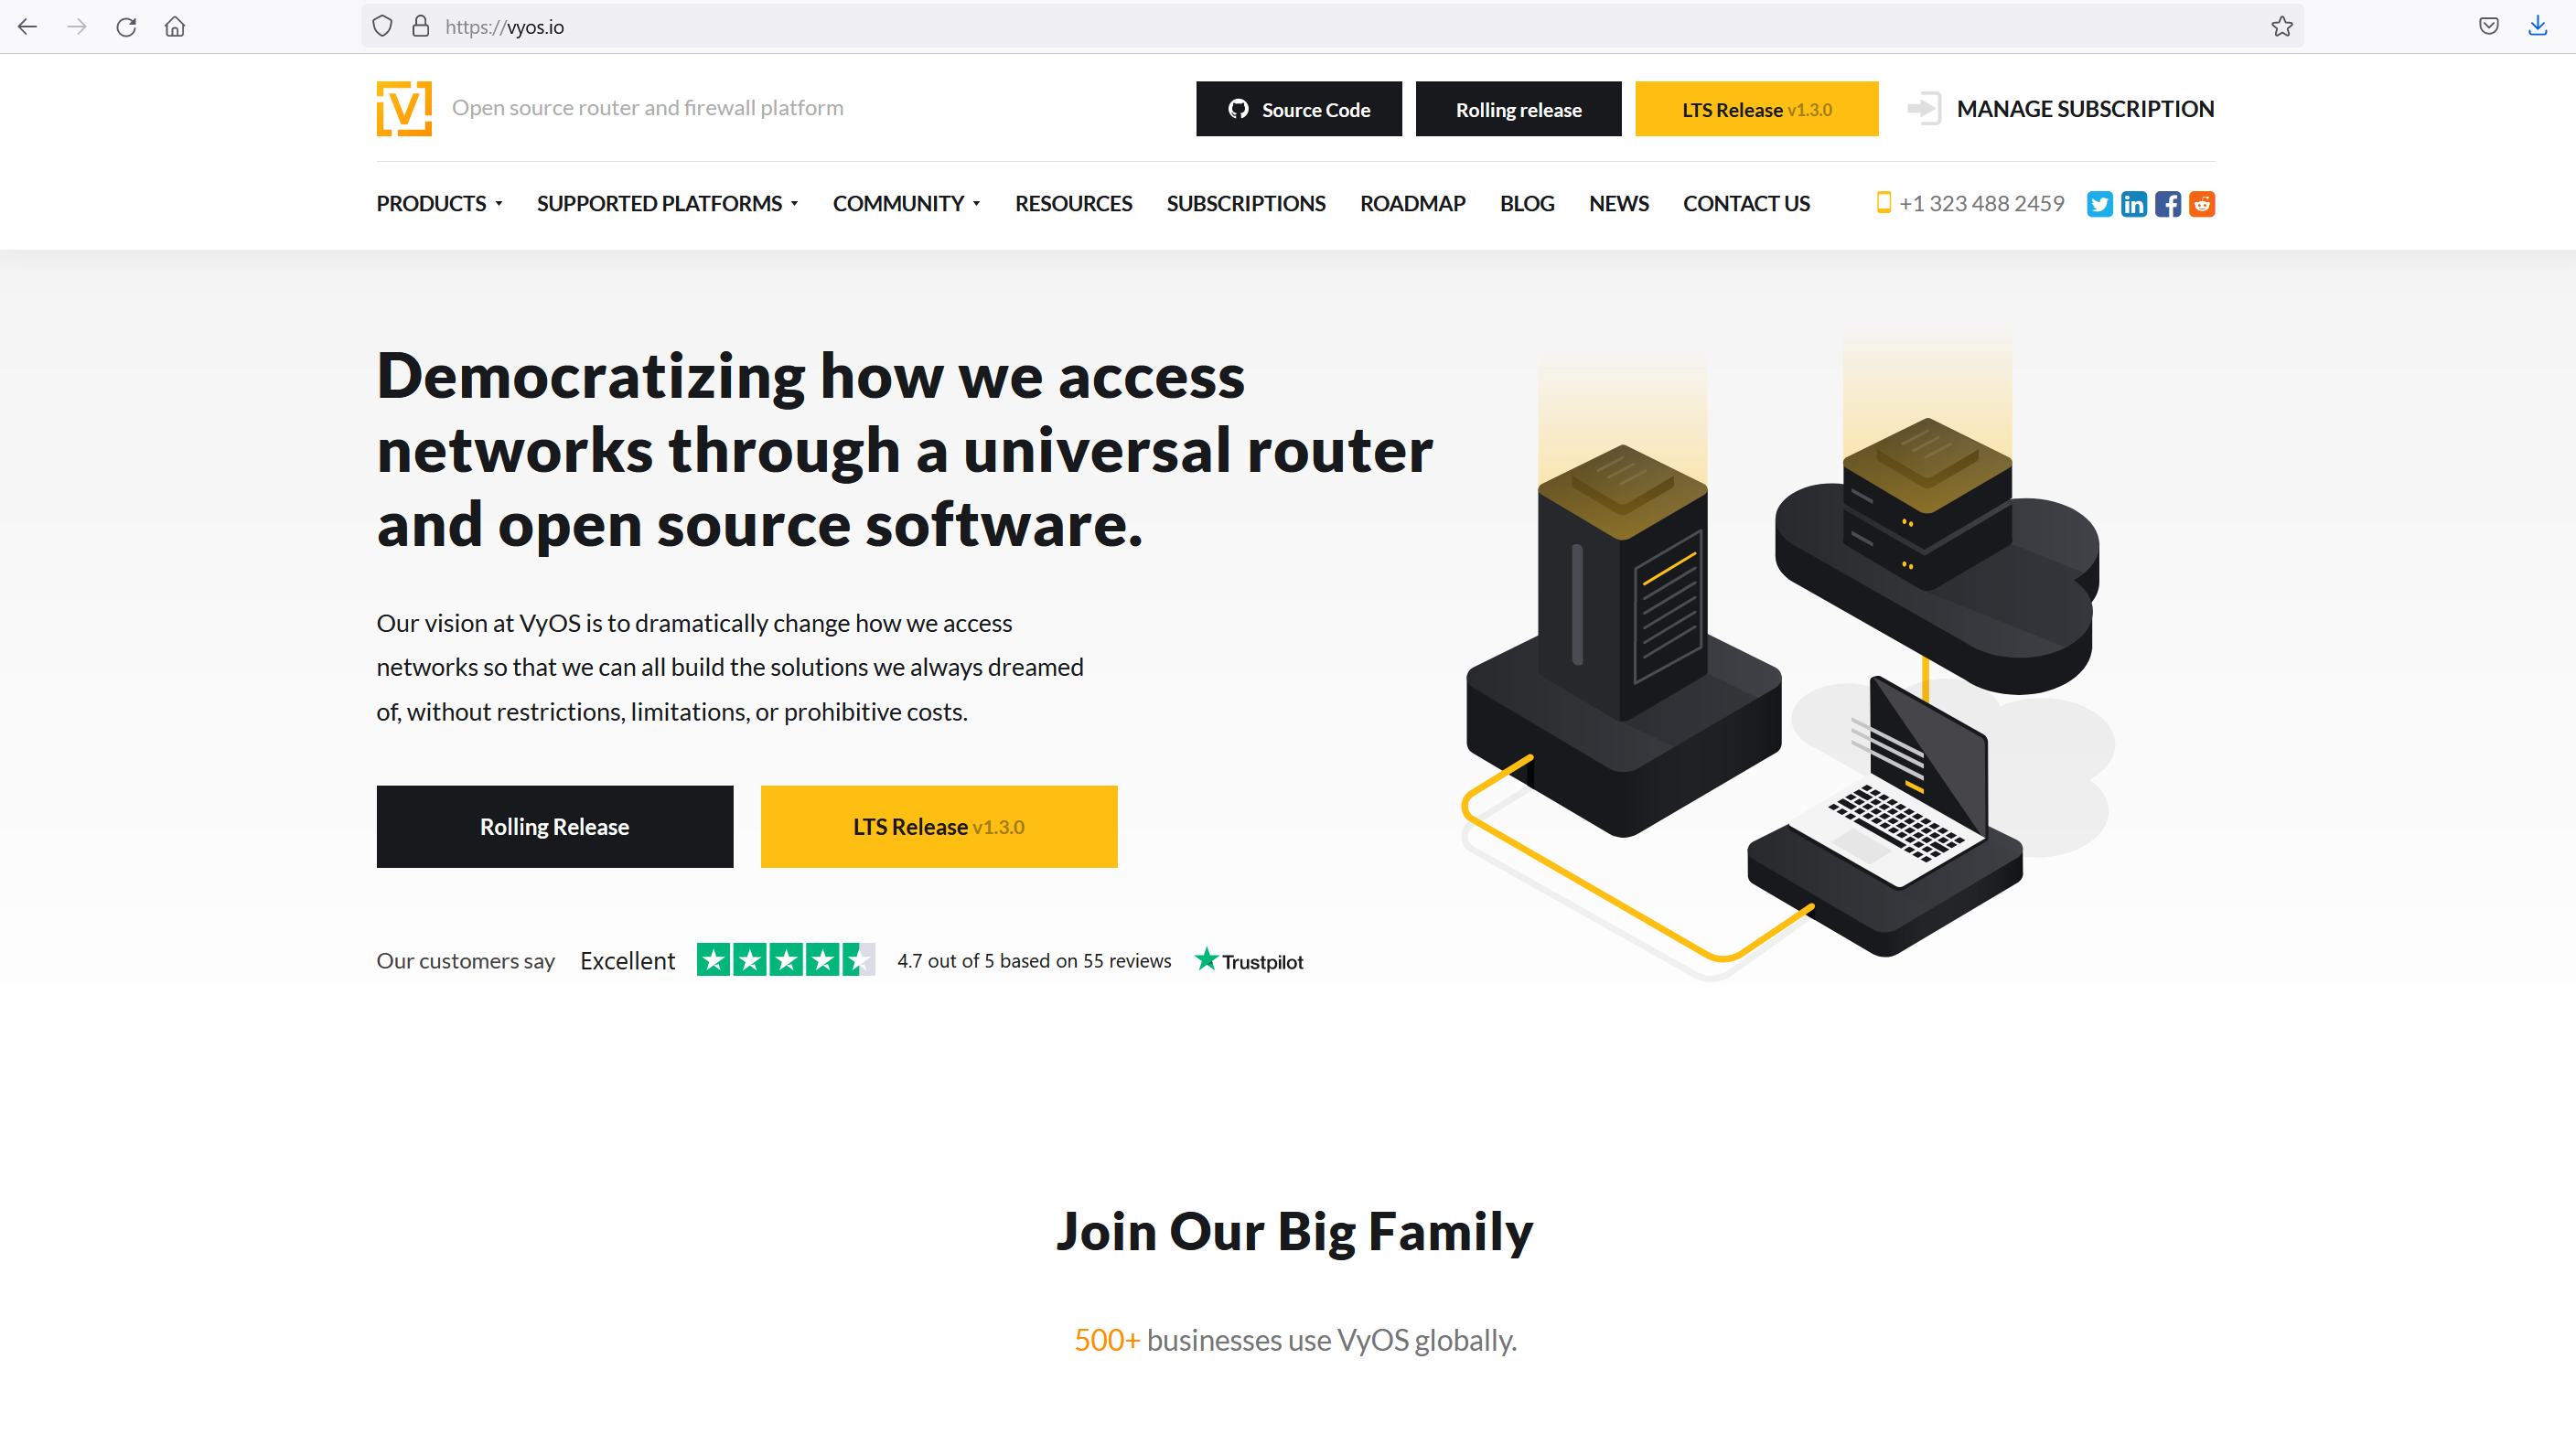
VyOS is an open source router operating system that has been successfully installed on all of the Vault platforms. The VyOS home page is at https://www.vyos.io. VyOS provides both Long Term Support (LTS) and "Rolling" releases. The LTS versions require a subscription, but the Rolling builds can be downloaded and installed without a subscription. This test installation was done with a VyOS Rolling Build.
To install a fresh instance of VyOS onto the Vault, there is a relatively straight forward process that is very similar to installing any operating system onto any computer.
- Obtain the installation image
- Download software to transfer the installation image to a USB drive
- Install the new image
Obtain the Installation Image
The VyOS installation image can be downloaded from https://www.vyos.io. The same image can be used to install VyOS on any of the Vault platforms.
- Select "Resources" from the VyOS main page
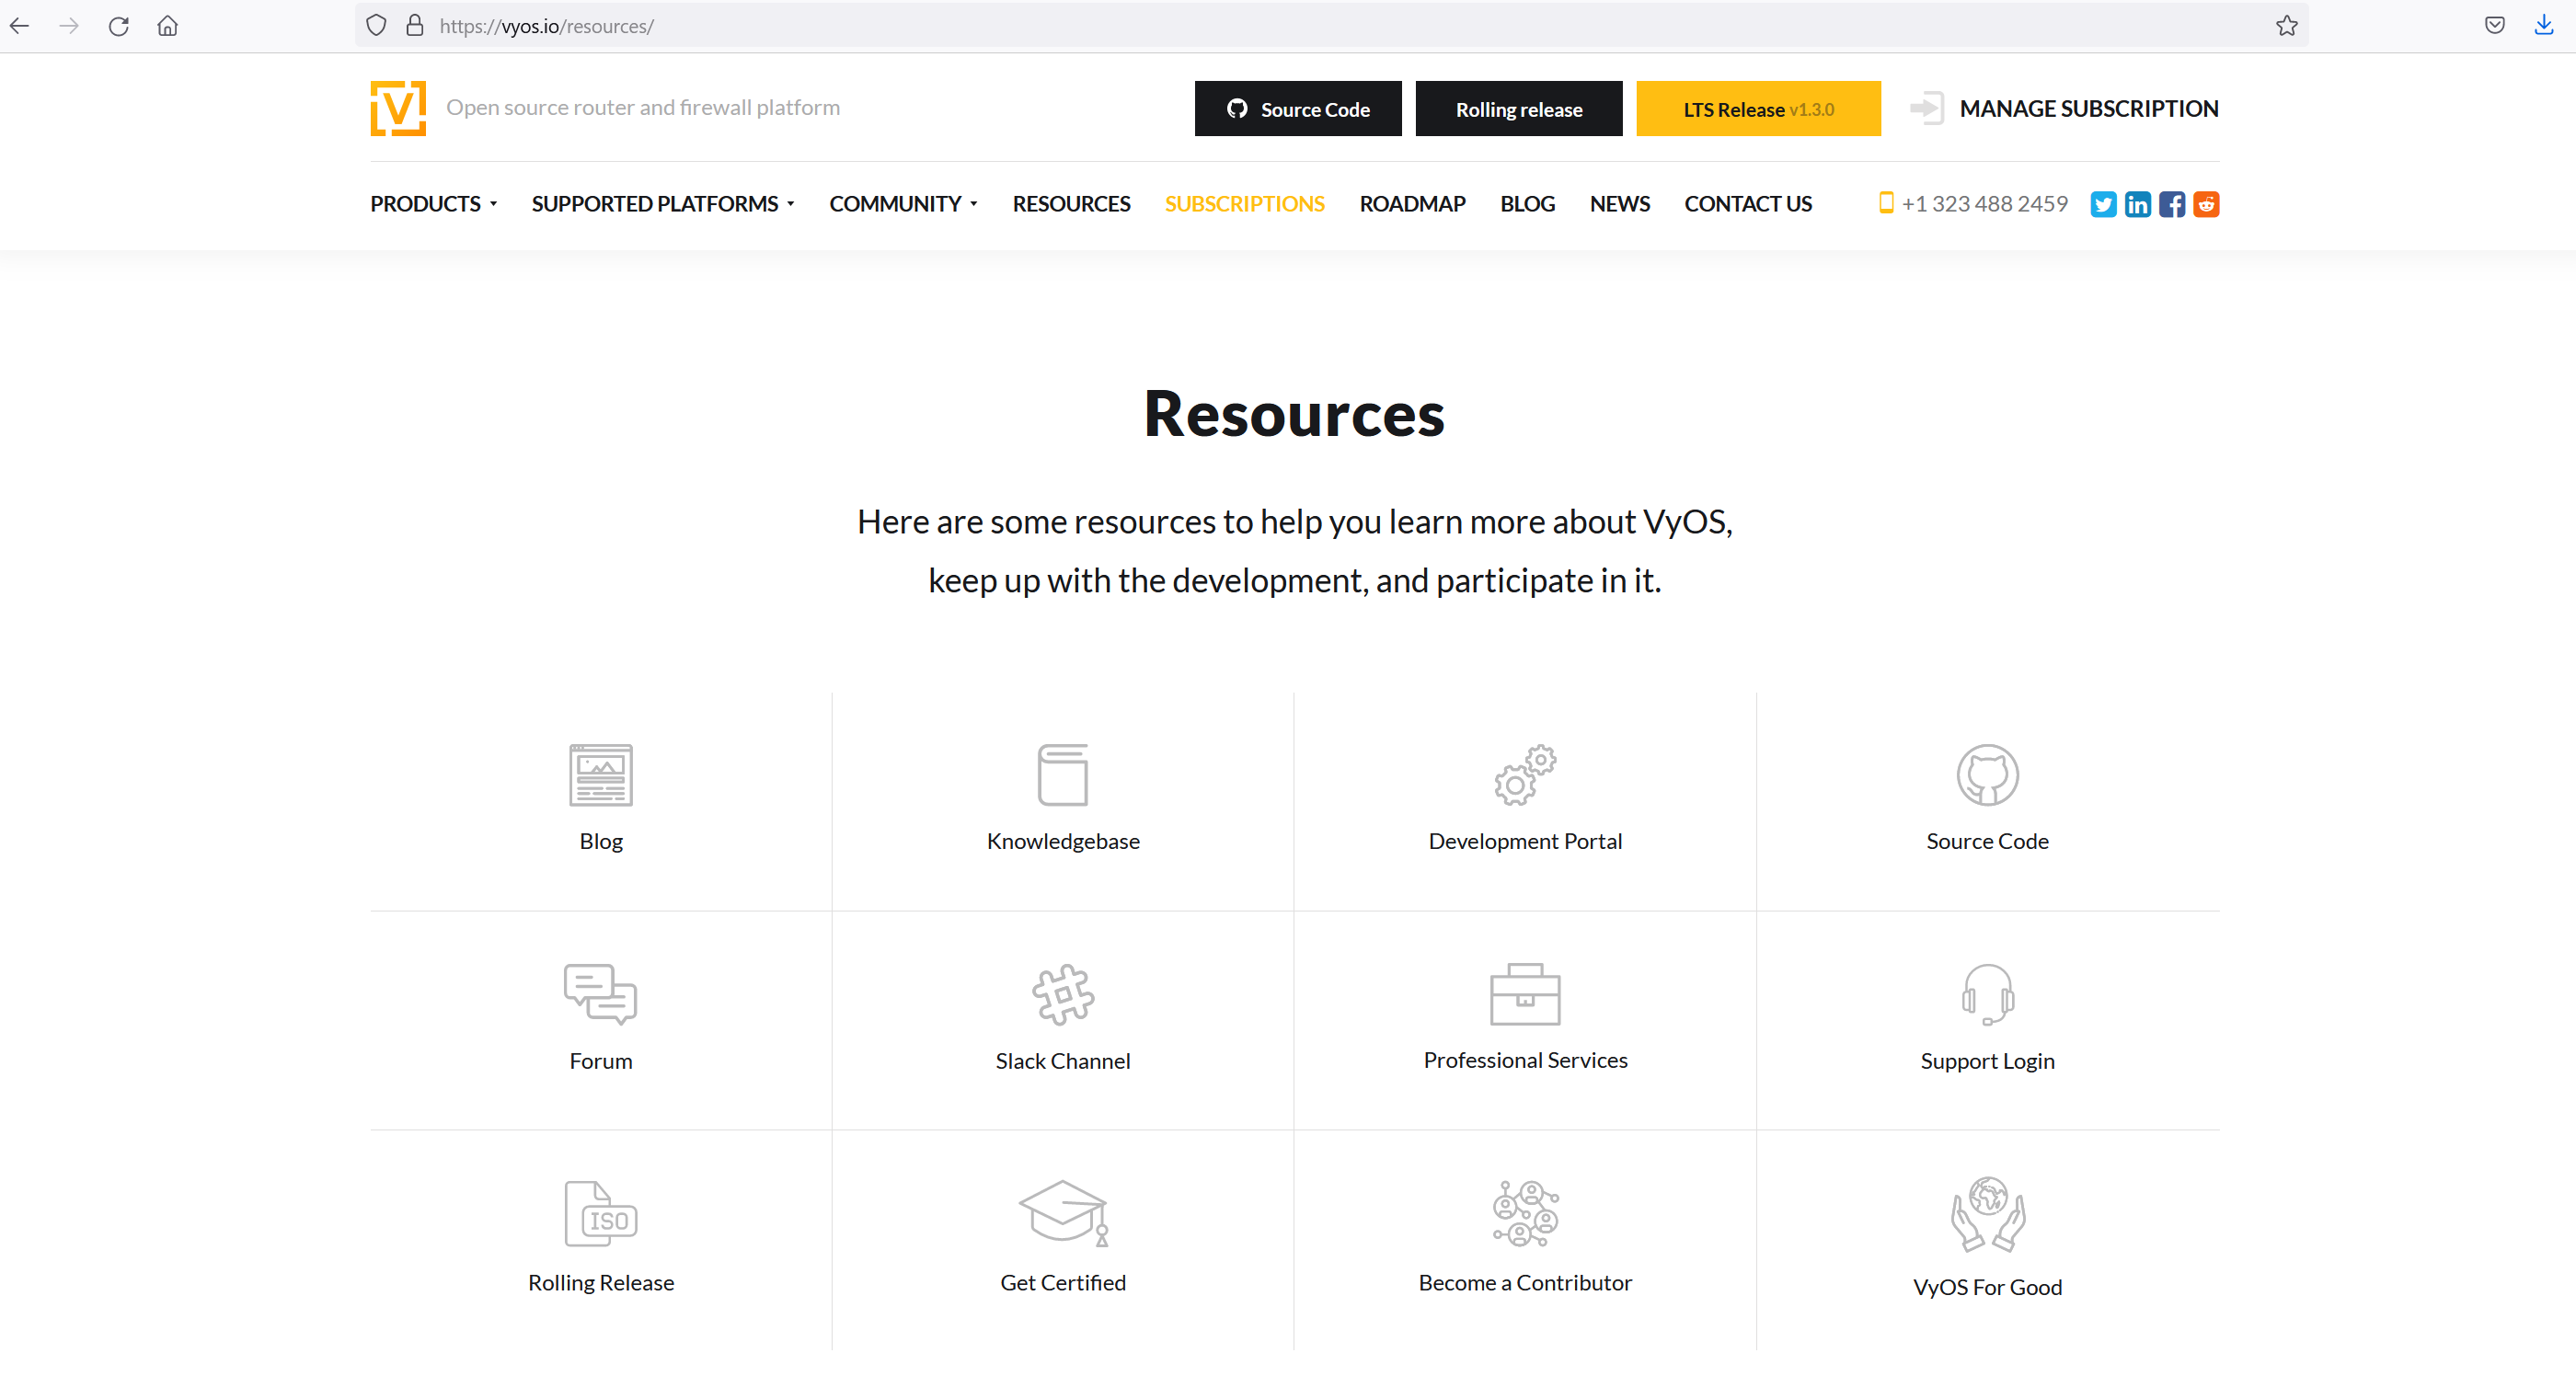
- Select a version
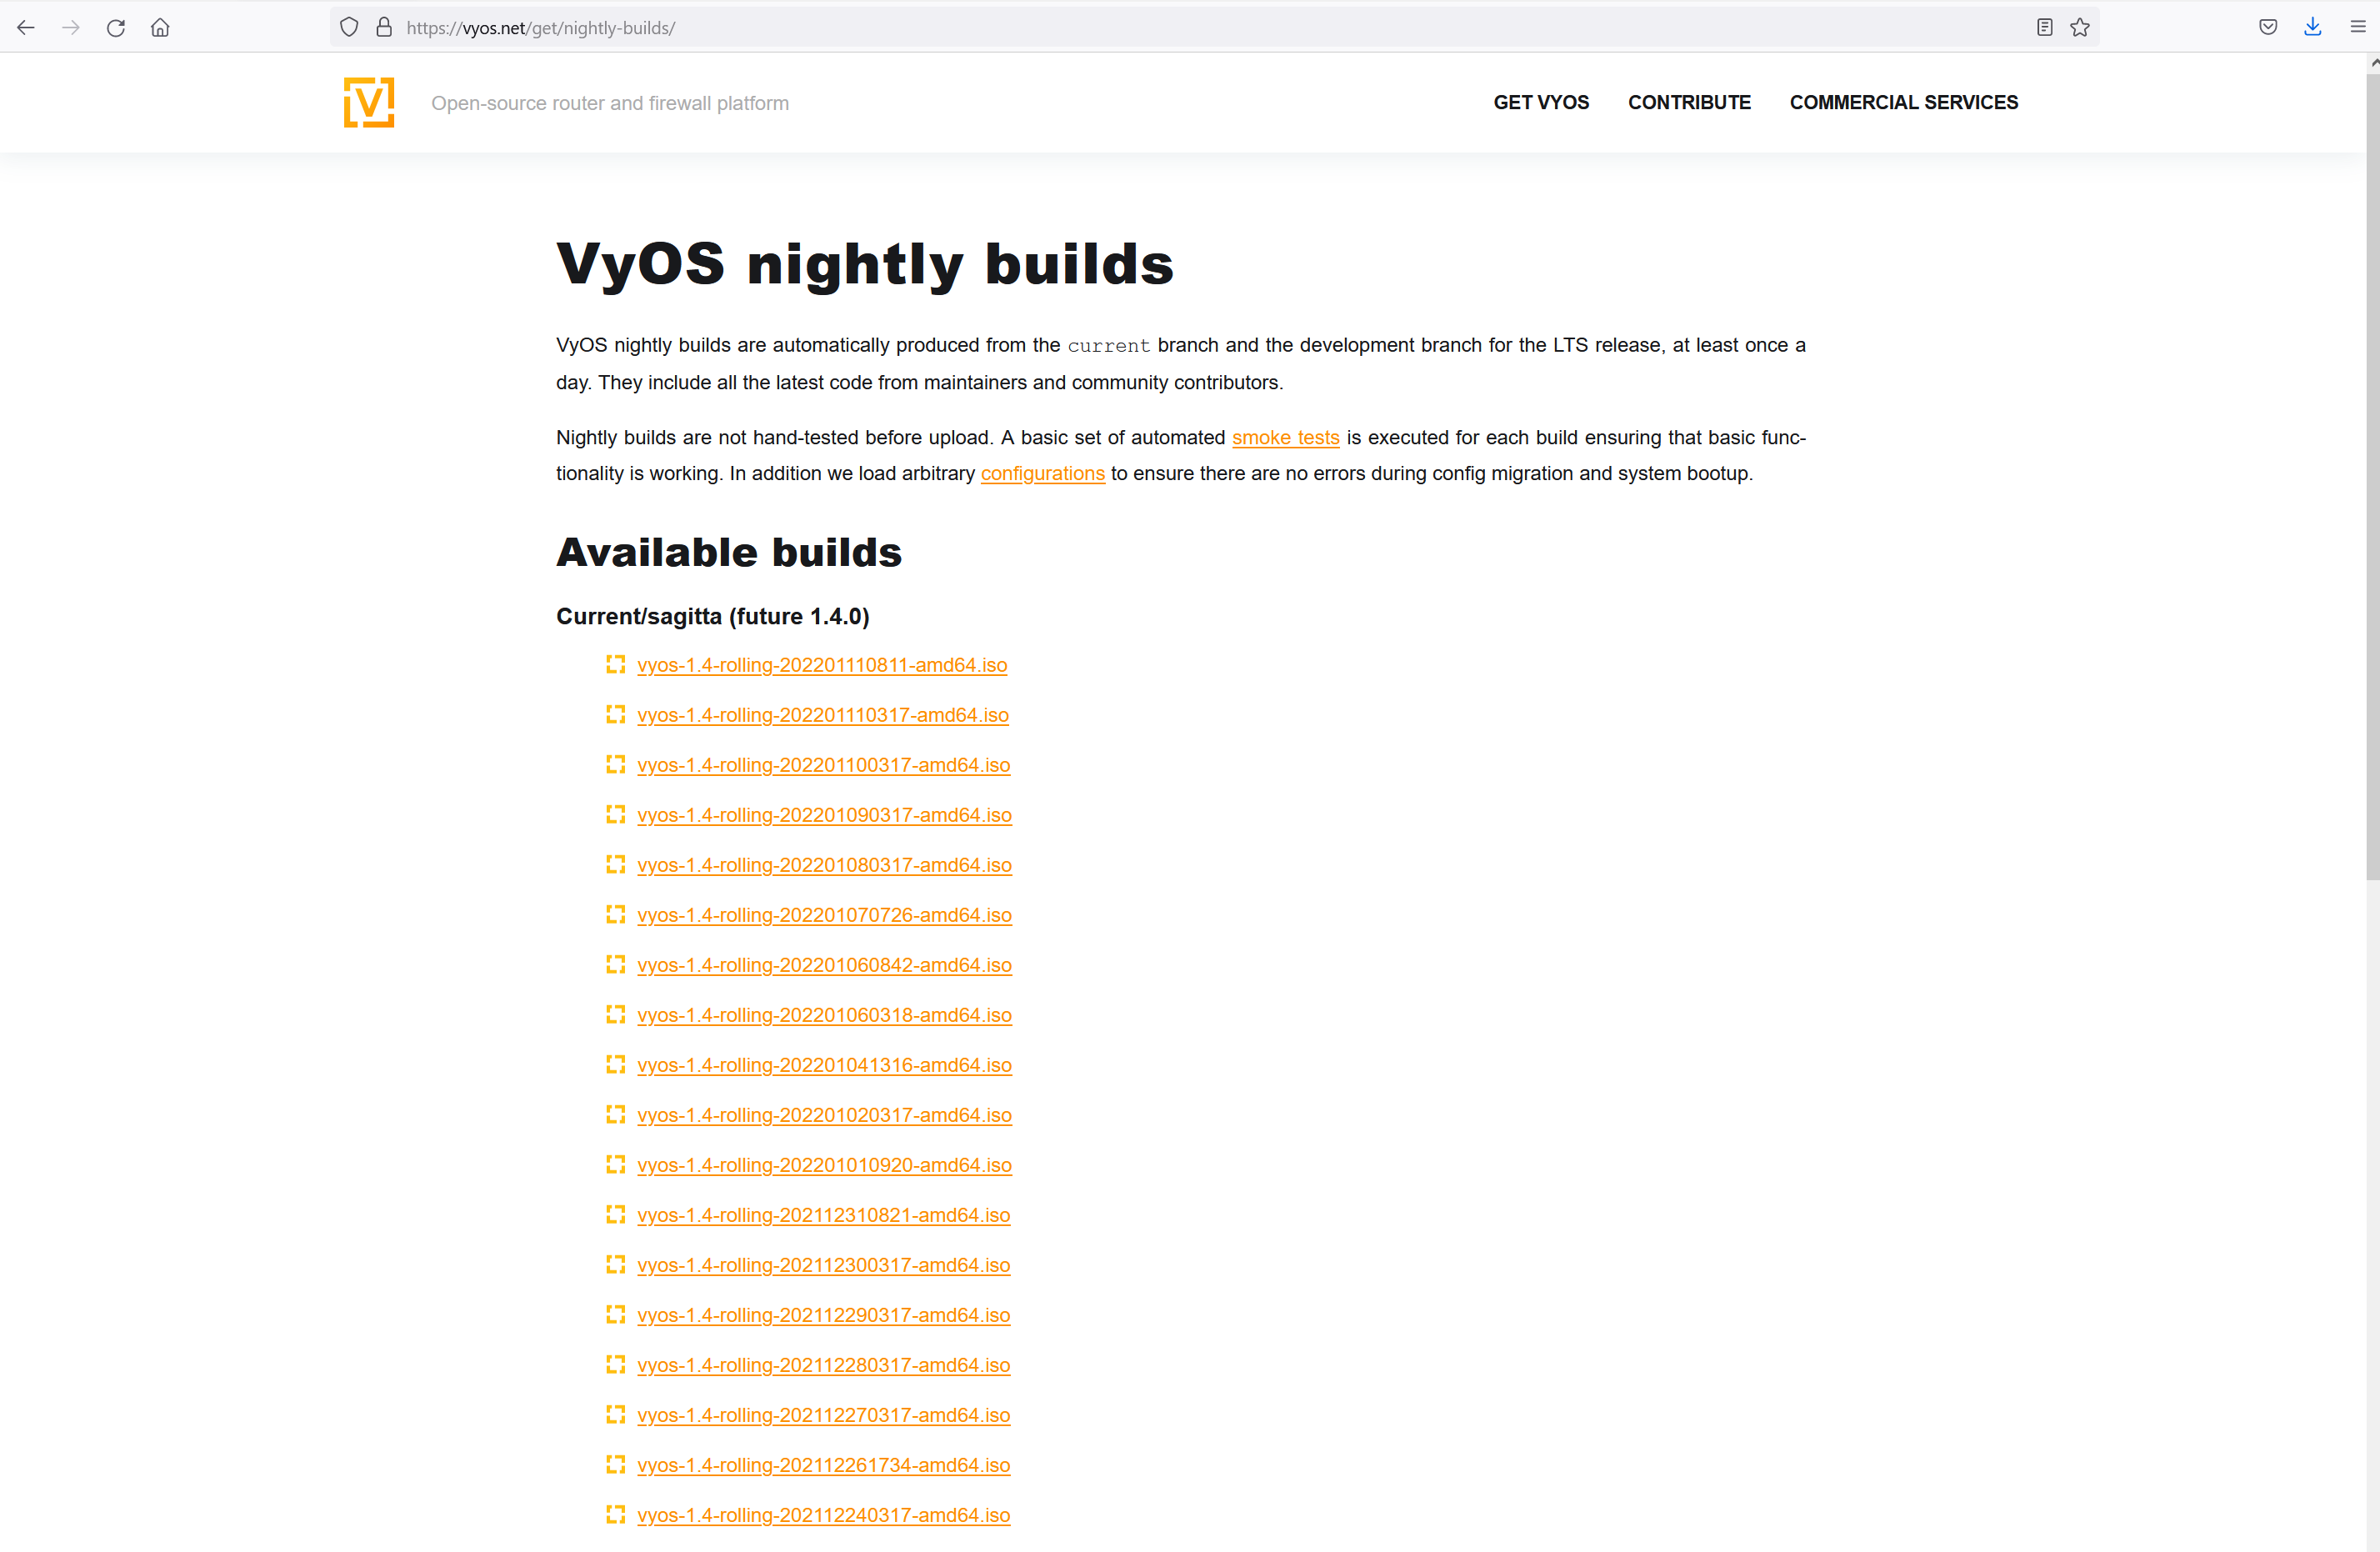
Your download should begin immediately and when it is completed you should have an ISO file.
Download software to transfer the installation image to a USB drive
There are multiple applications to transfer the installation image to a USB drive. Protectli recommends "Rufus" for Windows and "balenaEtcher" for the Mac. See this link for detailed instructions on how to create a bootable USB drive using Rufus or Balena Etcher.
Install the new image
Once the VyOS installation image is properly copied to the USB drive, it is ready to be installed on the Vault.
- Verify that the Vault is powered down.
- Verify that the VGA monitor or serial console is connected.
- Verify that the USB keyboard is plugged in.
- Insert the USB install drive into the other USB port on the Vault.
- While powering up the Vault, press "F11" key and hold it down until it boots to the BIOS and you see the boot options screen.
- Select the USB drive to boot from.
- Verify that the Vault boots to the "Boot menu"
- Select Live (amd64-vyos) and press Enter to begin the boot process.
- Verify that the vyos login prompt occurs
- Login as user "vyos" with password "vyos"
- Type "install image" and verify that the installation process begins
- When prompted for RAID configuration, select "No".
- When prompted for partitions, select "Auto".
- Install image on "sda" and continue ("Yes")
- Accept default root partition size
- When prompted, select a name for the image or accept the default
- Select the default for config.boot
- Enter a password for user "vyos"
- Select the default for the GRUB partition
- Verify the installation completes and the vyos prompt reappears.
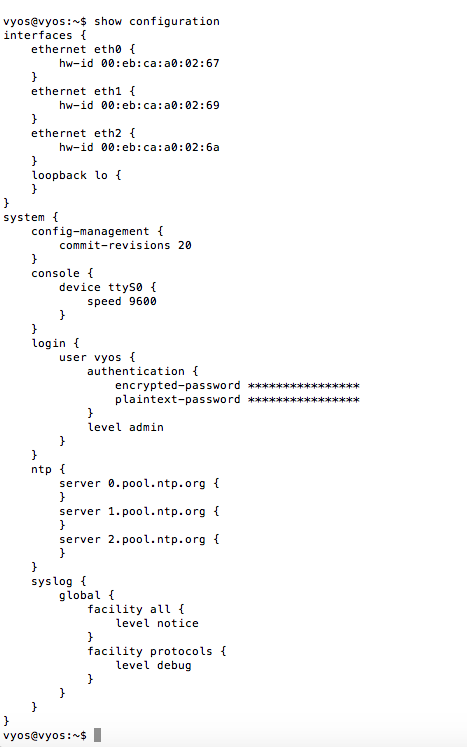
Show Configuration
VyOS has a command line interface (CLI) only. To verify that it has been installed, type "show configuration" at the CLI. Sample output below. The available commands can be found by typing a question mark "?" at the CLI.
Documentation and more information for VyOS can be found on the VyOS Wiki page at this link.
VyOS should be up and running. If you experience any issues, please feel free to reach out to us at support@protectli.com, or find more information in our Knowledge Base.